![](https://www.silviamancinicakeart.it/wp-content/uploads/2016/09/scarpina-ok.jpg)
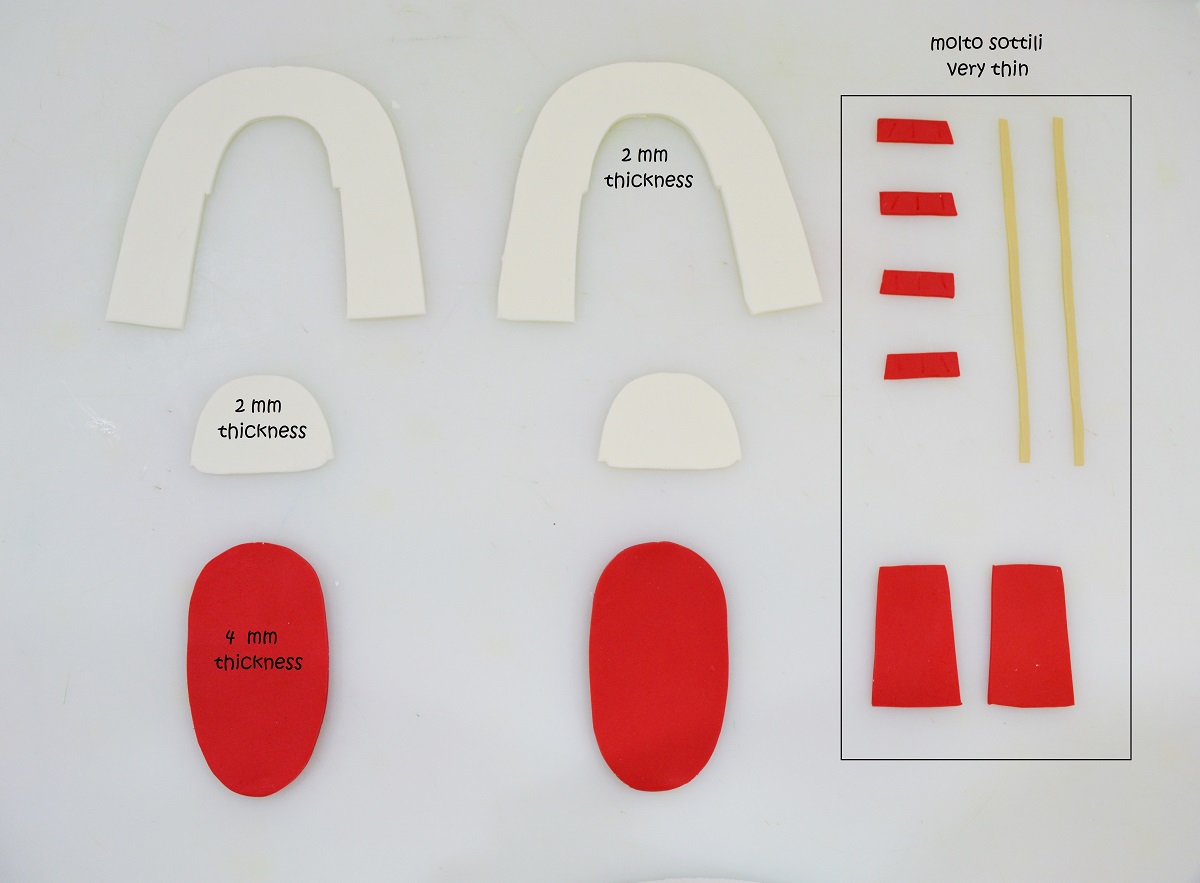
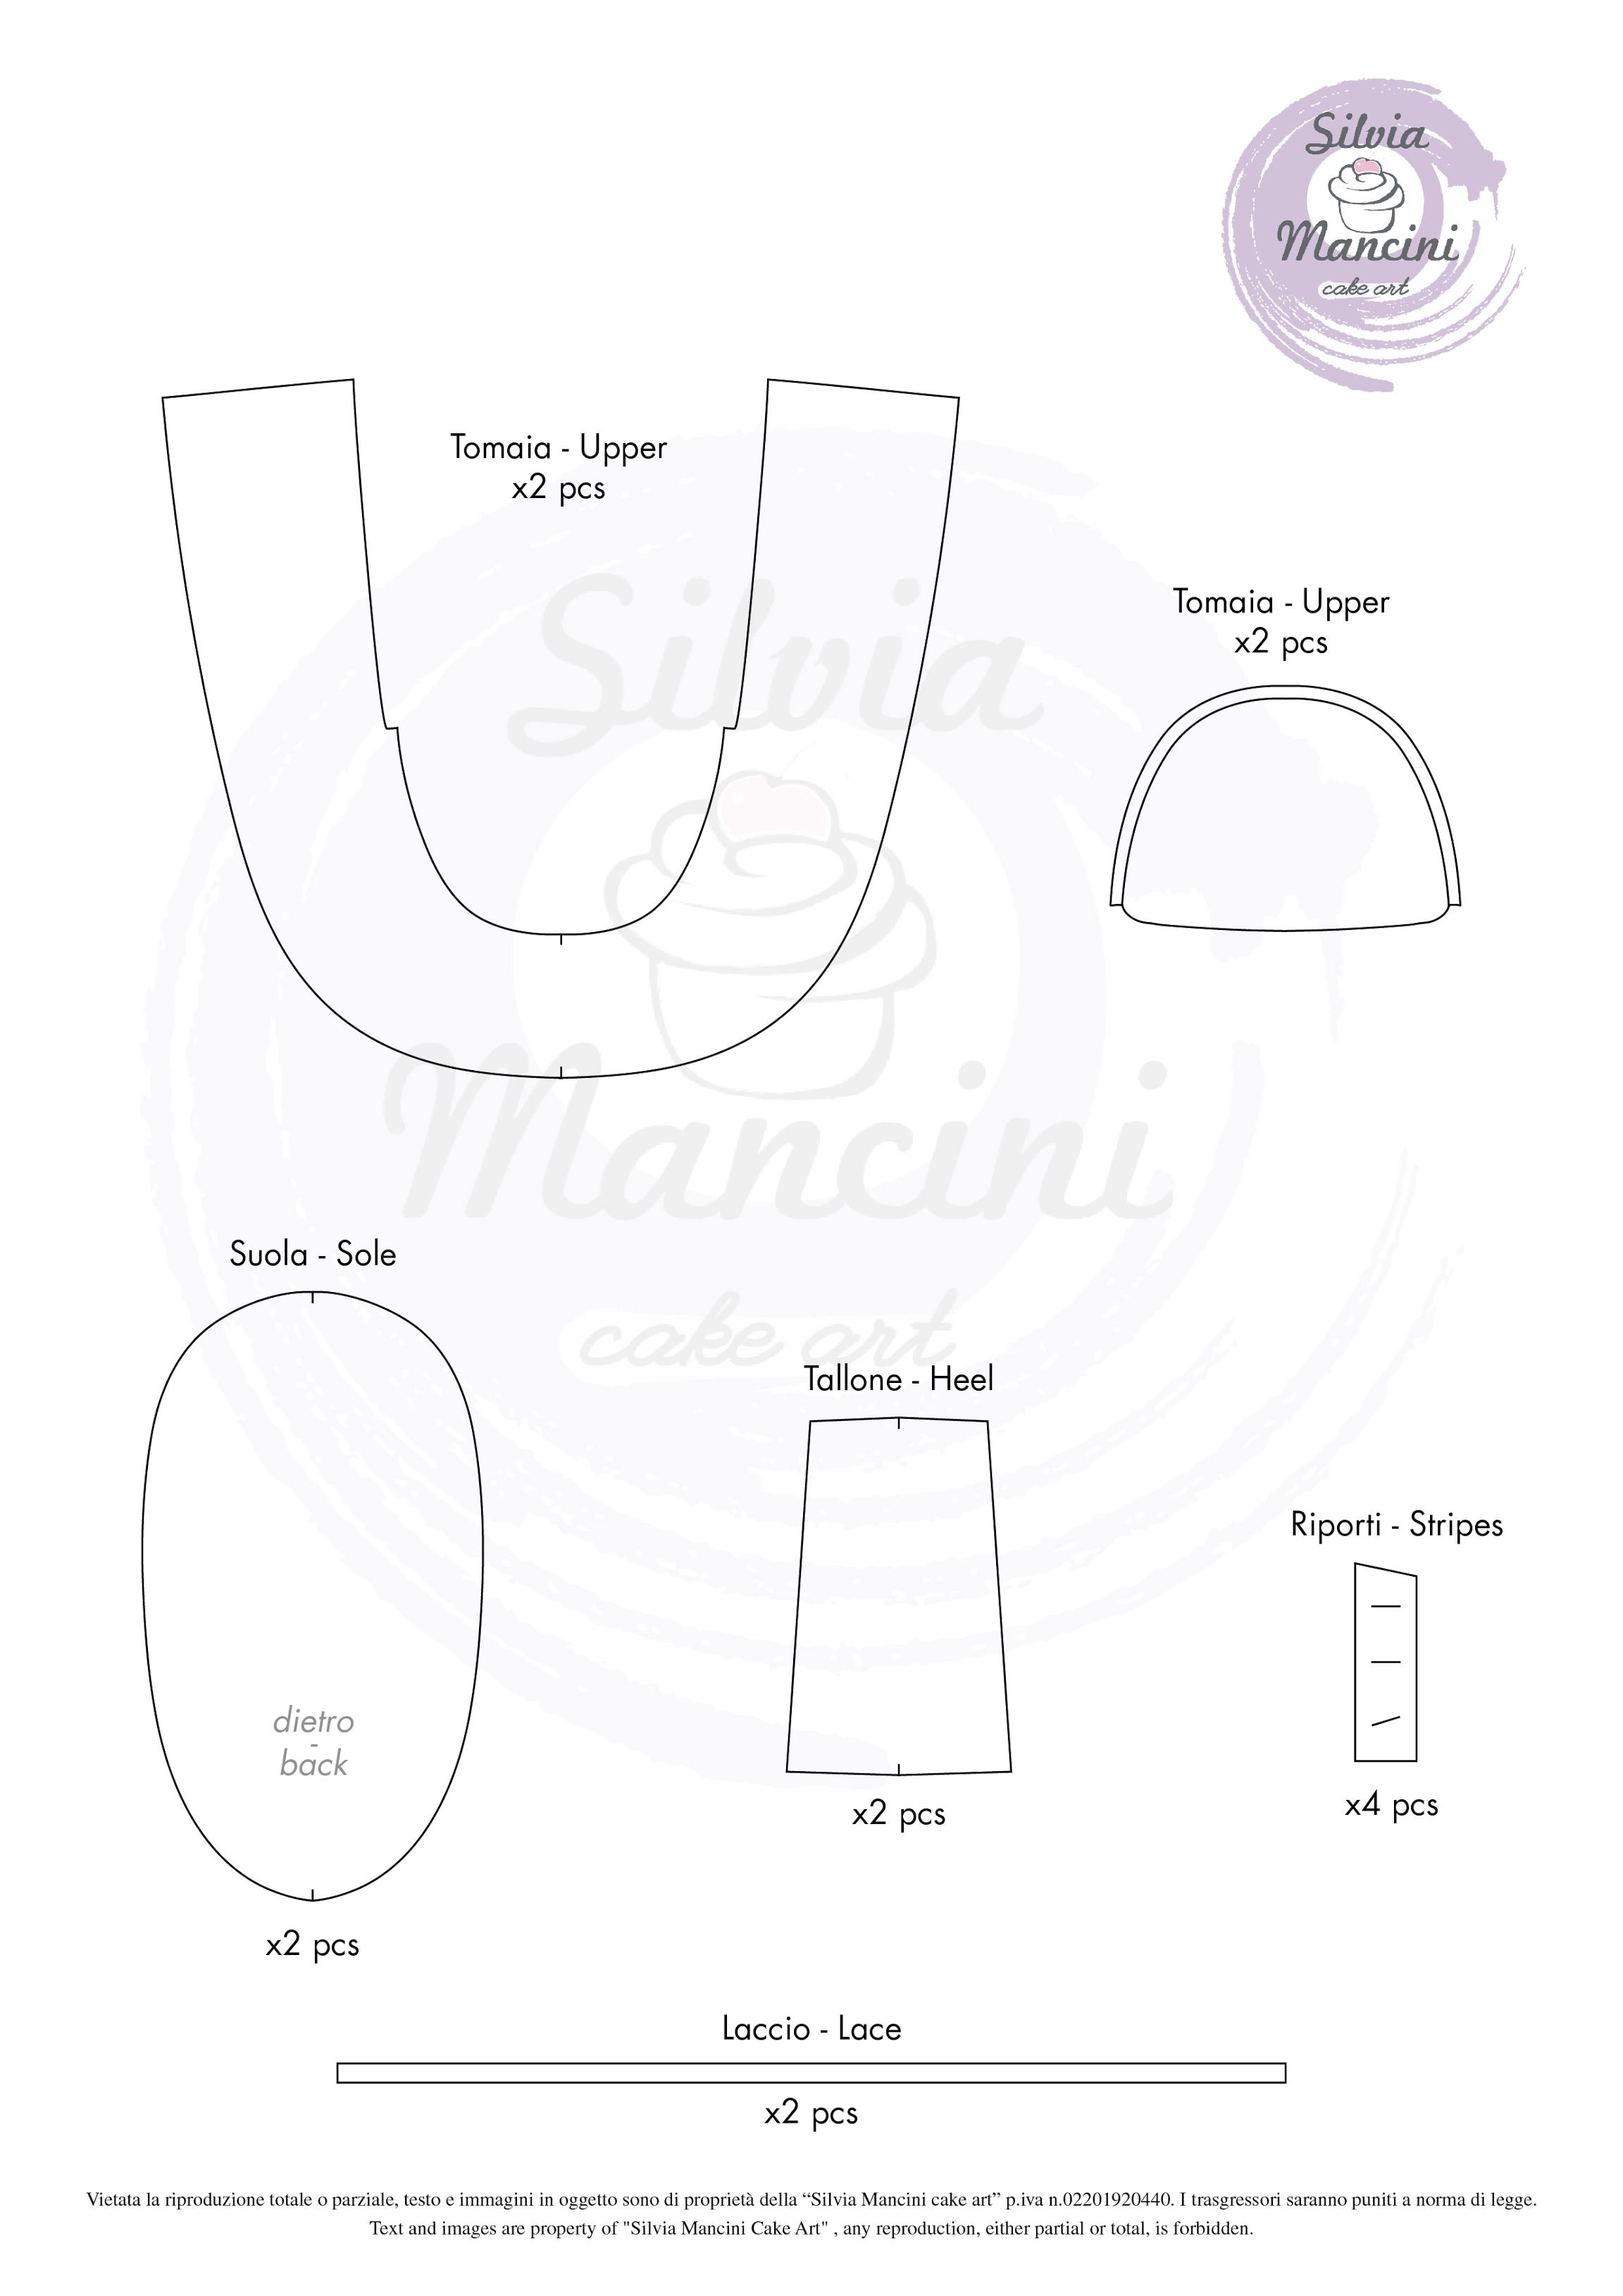
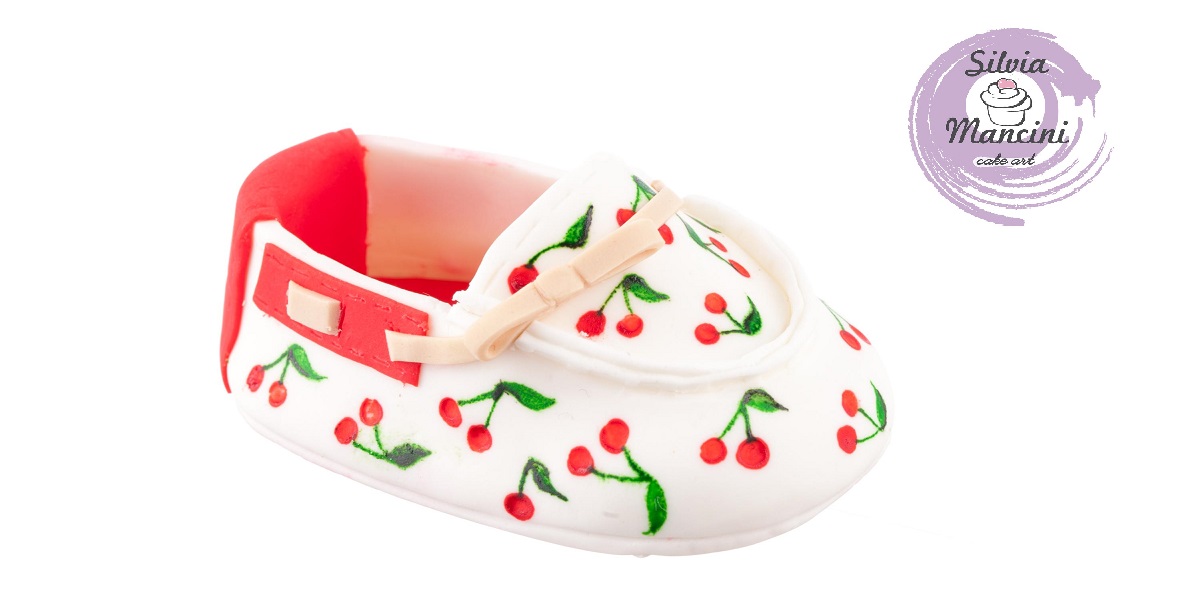
Ecco un regalino per voi, un tutorial dettagliato per realizzare delle simpatiche scarpine adatte a tante occasioni, dai battesimi alle nascite e primi compleanni. Basterà cambiare il colore della pasta e delle decorazioni per adattarla alle vostre esigenze. Buon divertimento !!!
![](https://www.silviamancinicakeart.it/wp-content/uploads/2016/09/11.jpg)
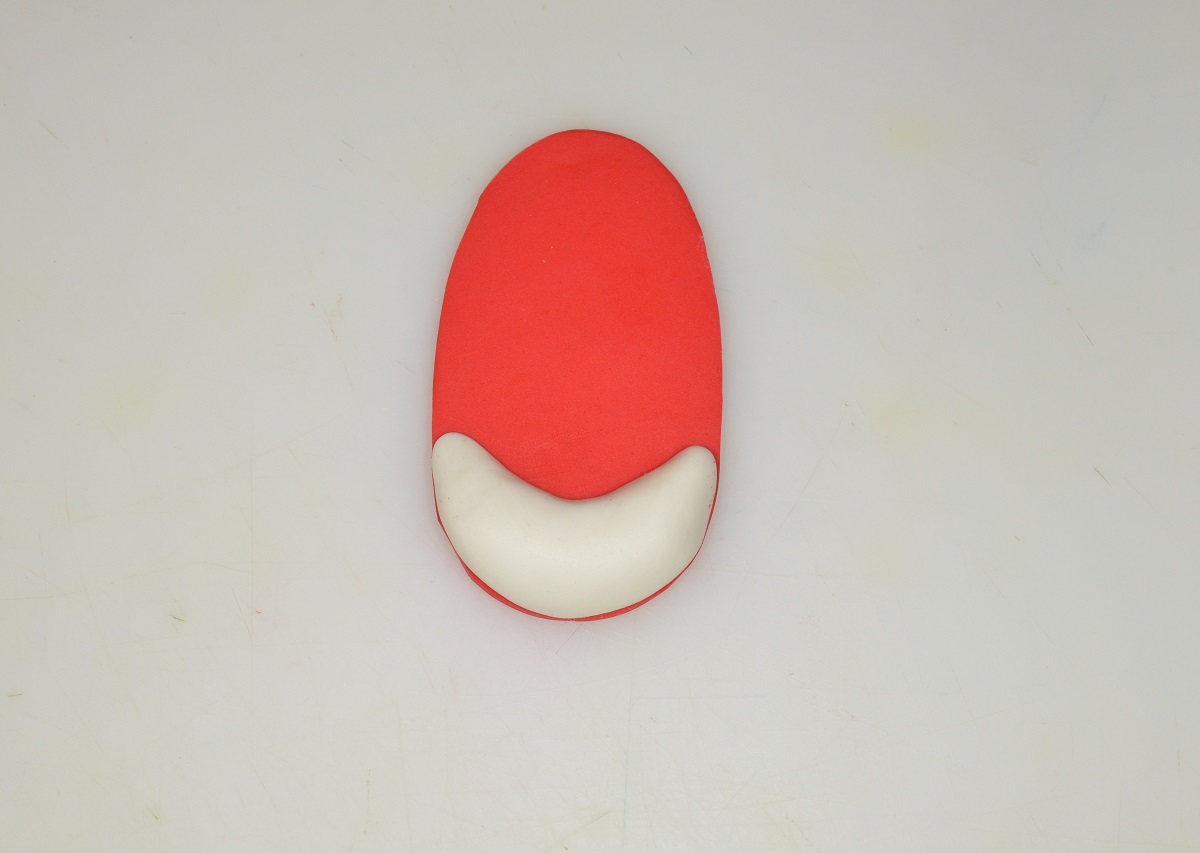
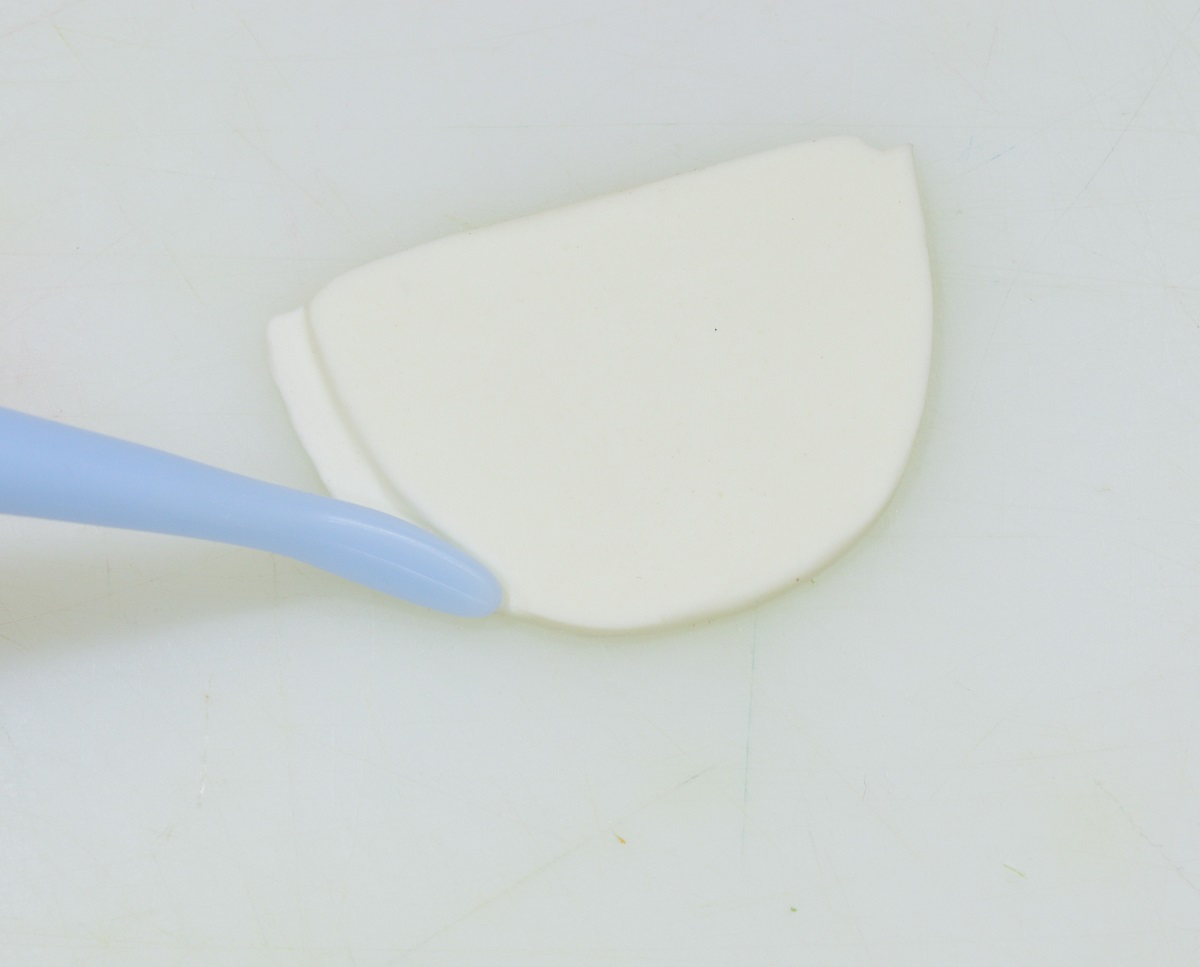
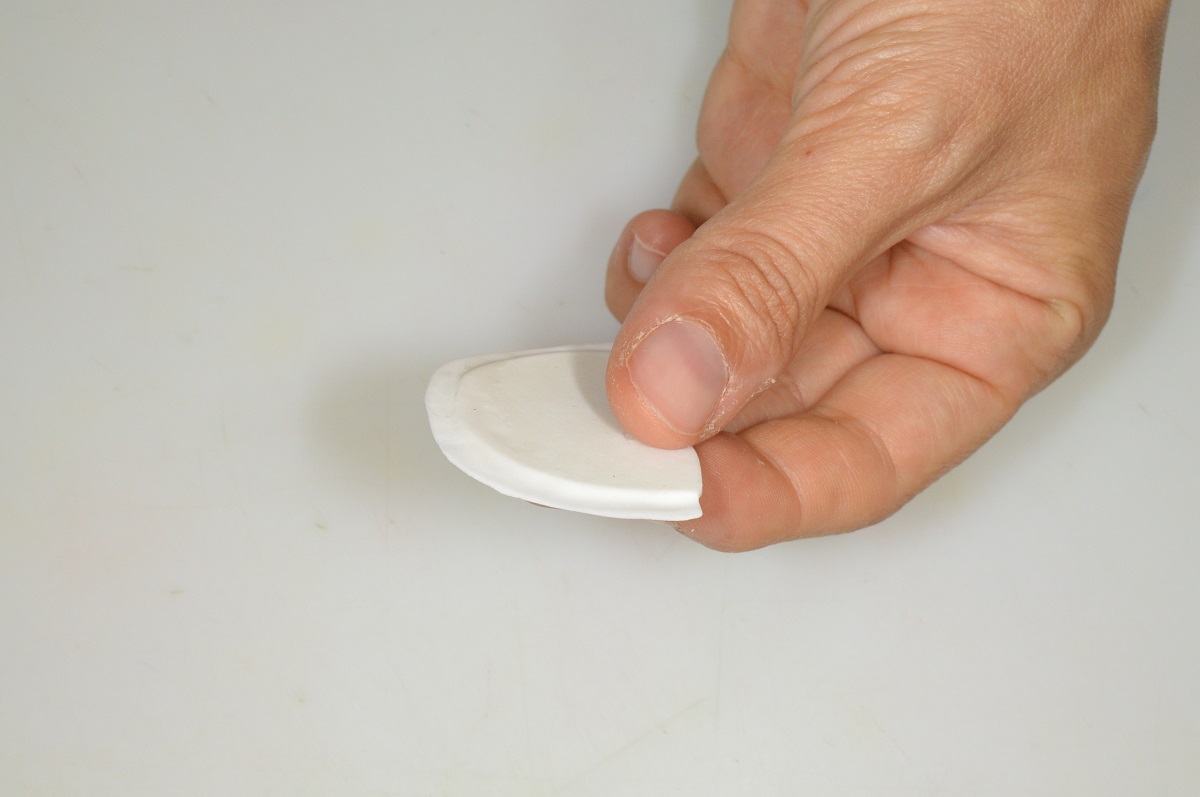
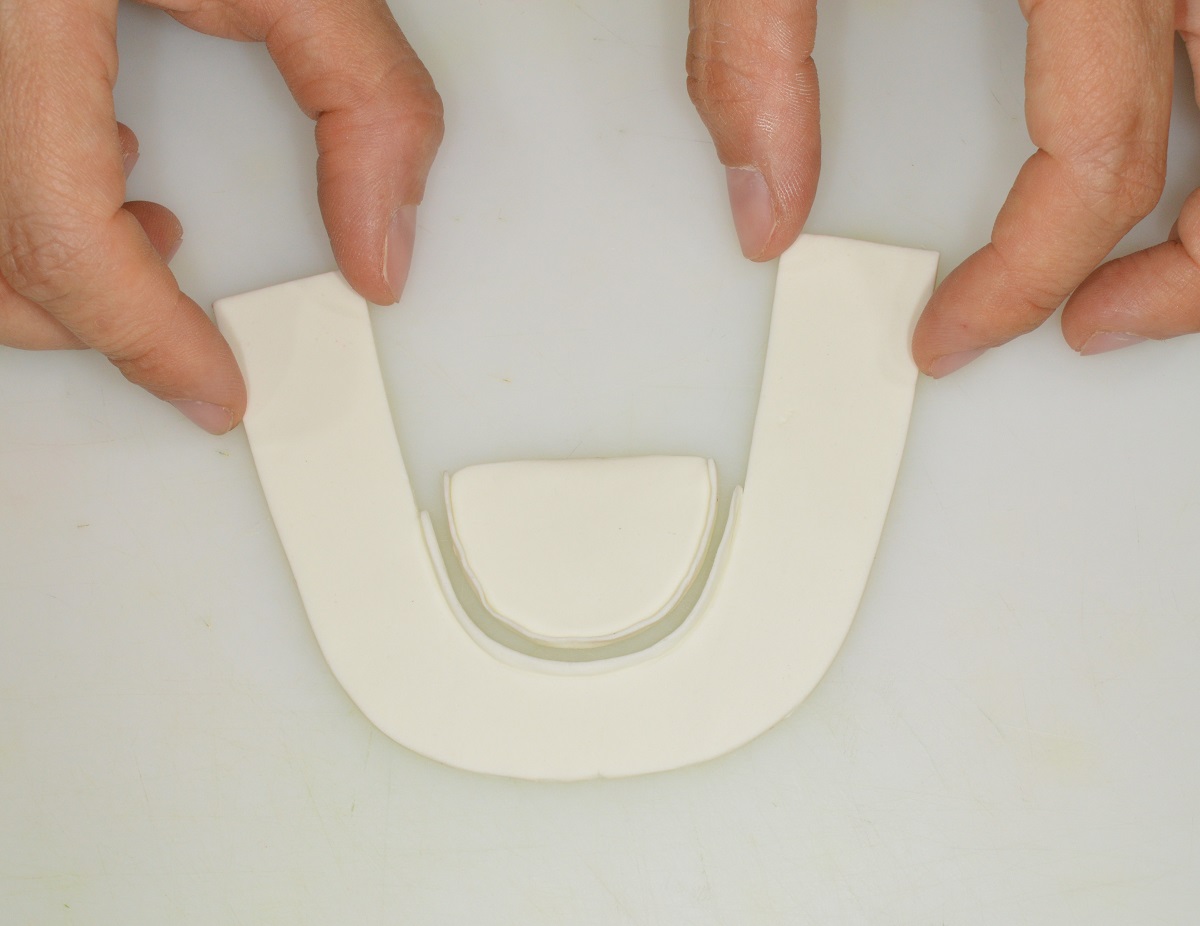
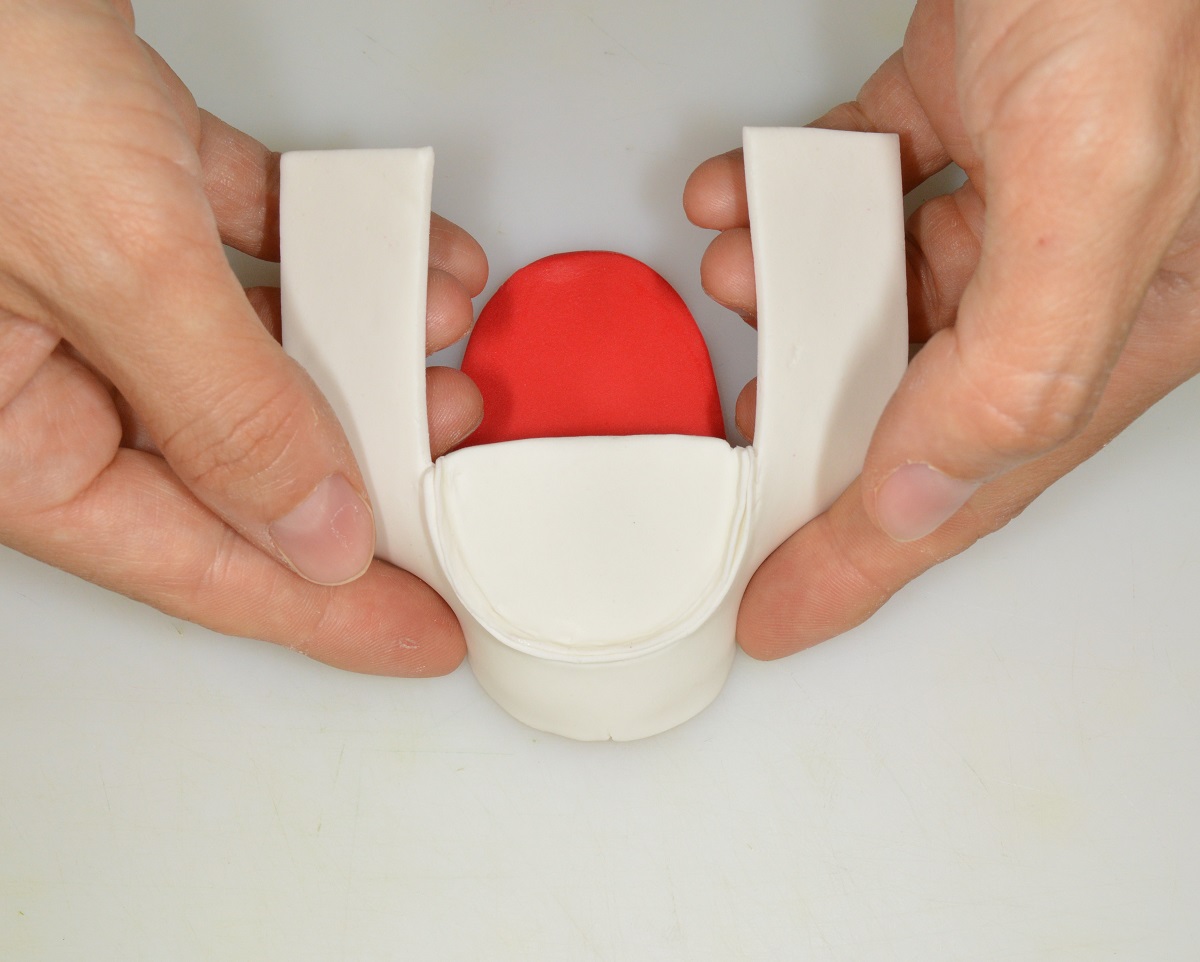
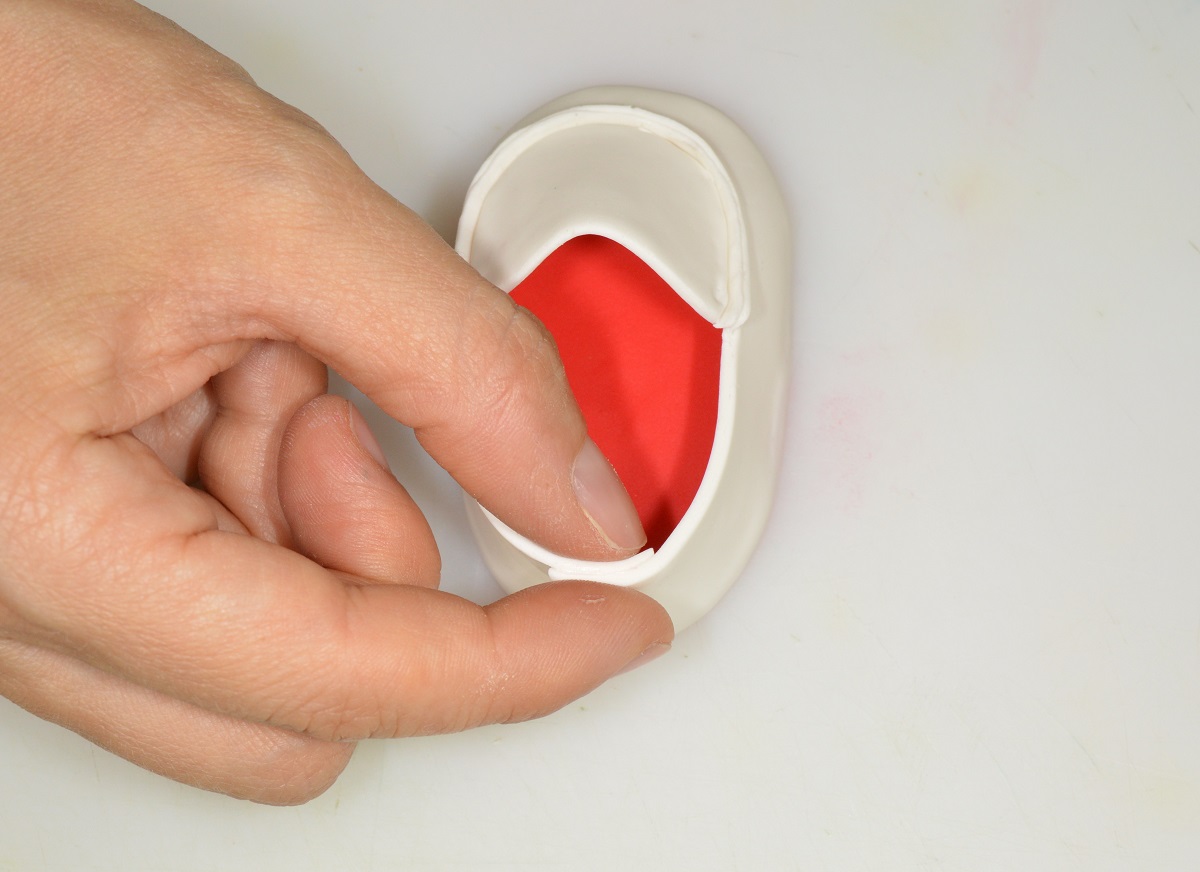
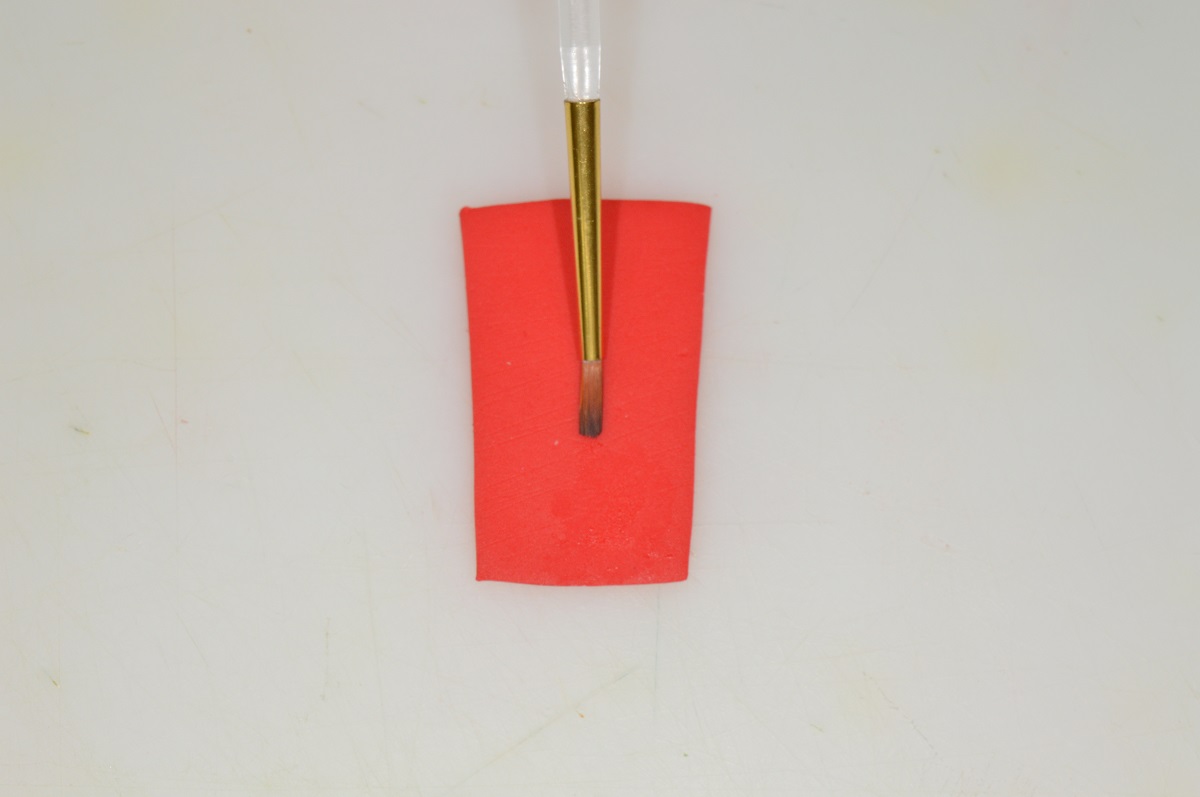
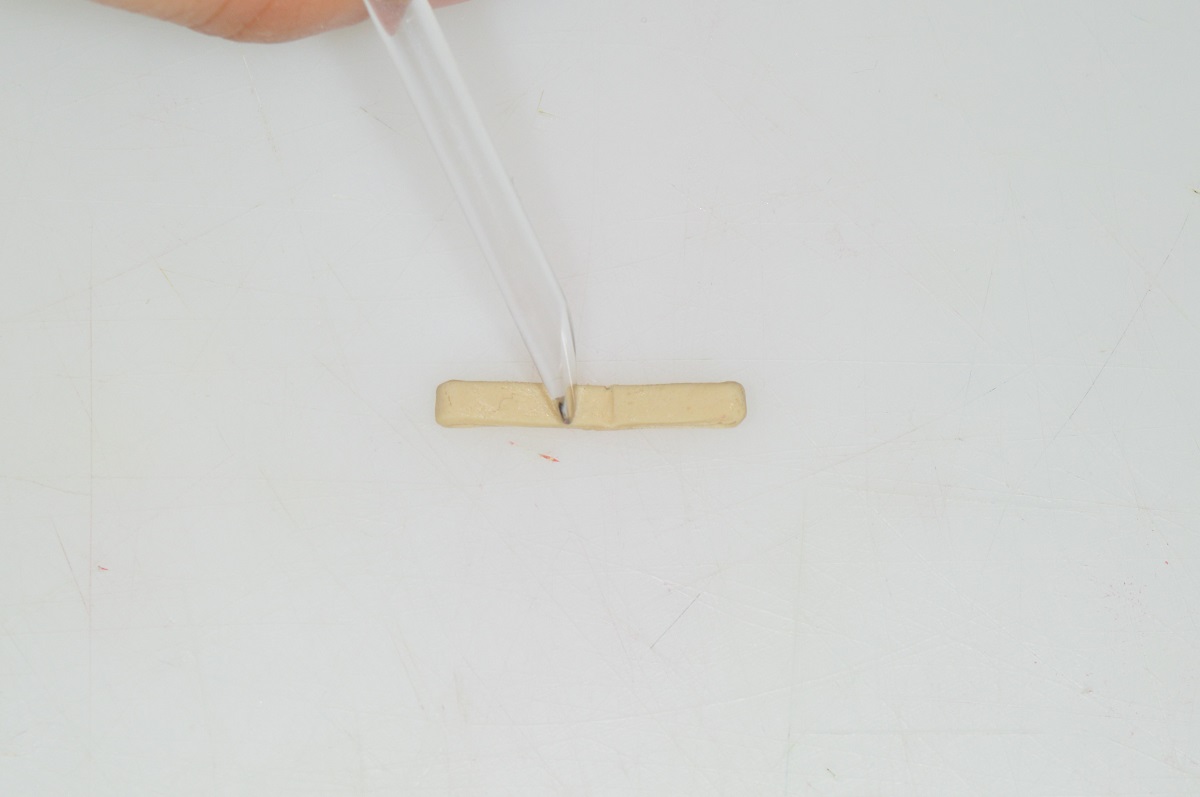
Con poca pasta bianca create il “puntale” della scarpina
Create a support to avoid the point from droping
![](https://www.silviamancinicakeart.it/wp-content/uploads/2016/09/21.jpg)
![](https://www.silviamancinicakeart.it/wp-content/uploads/2016/09/3.jpg)
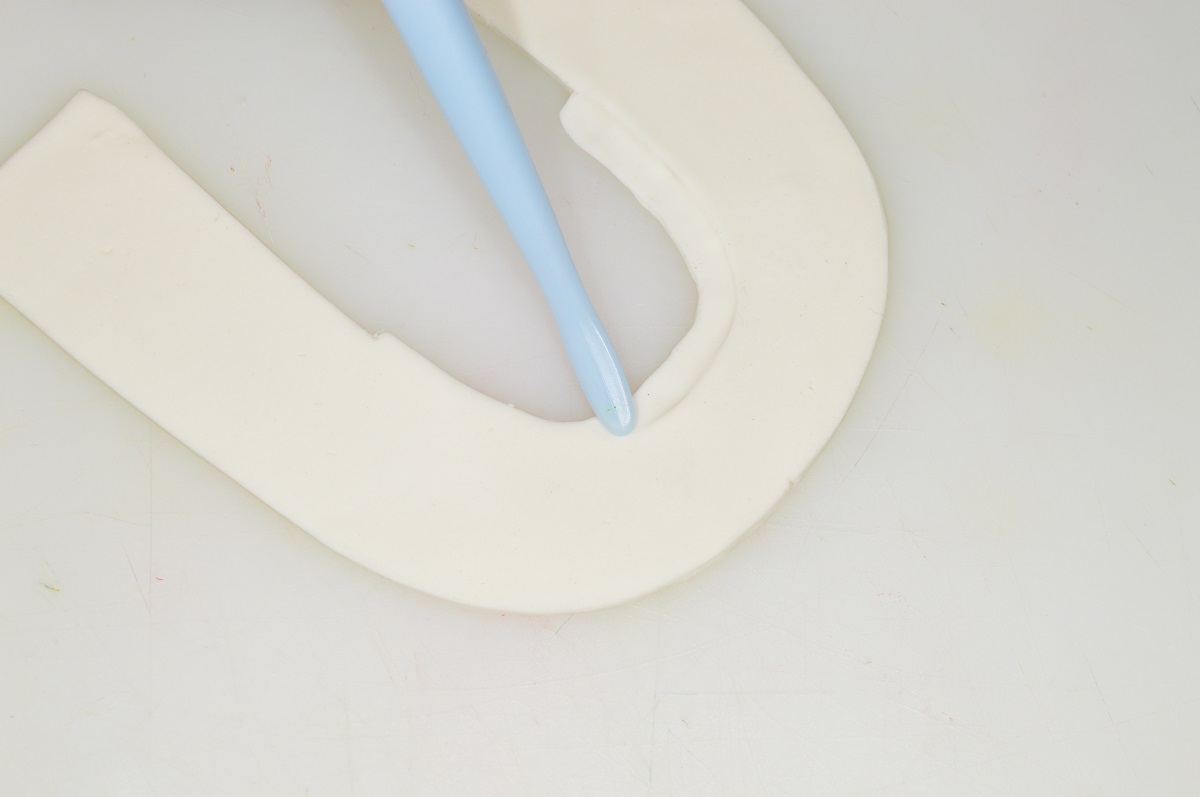
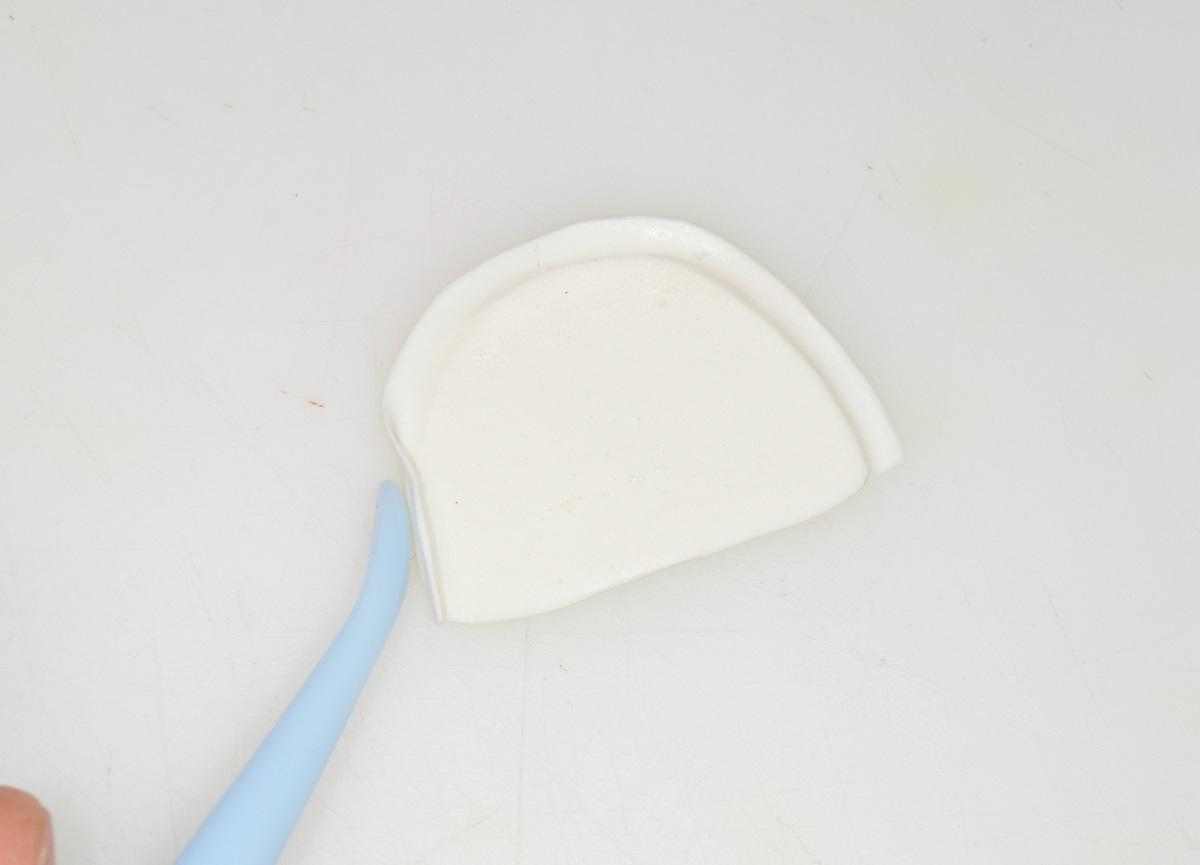
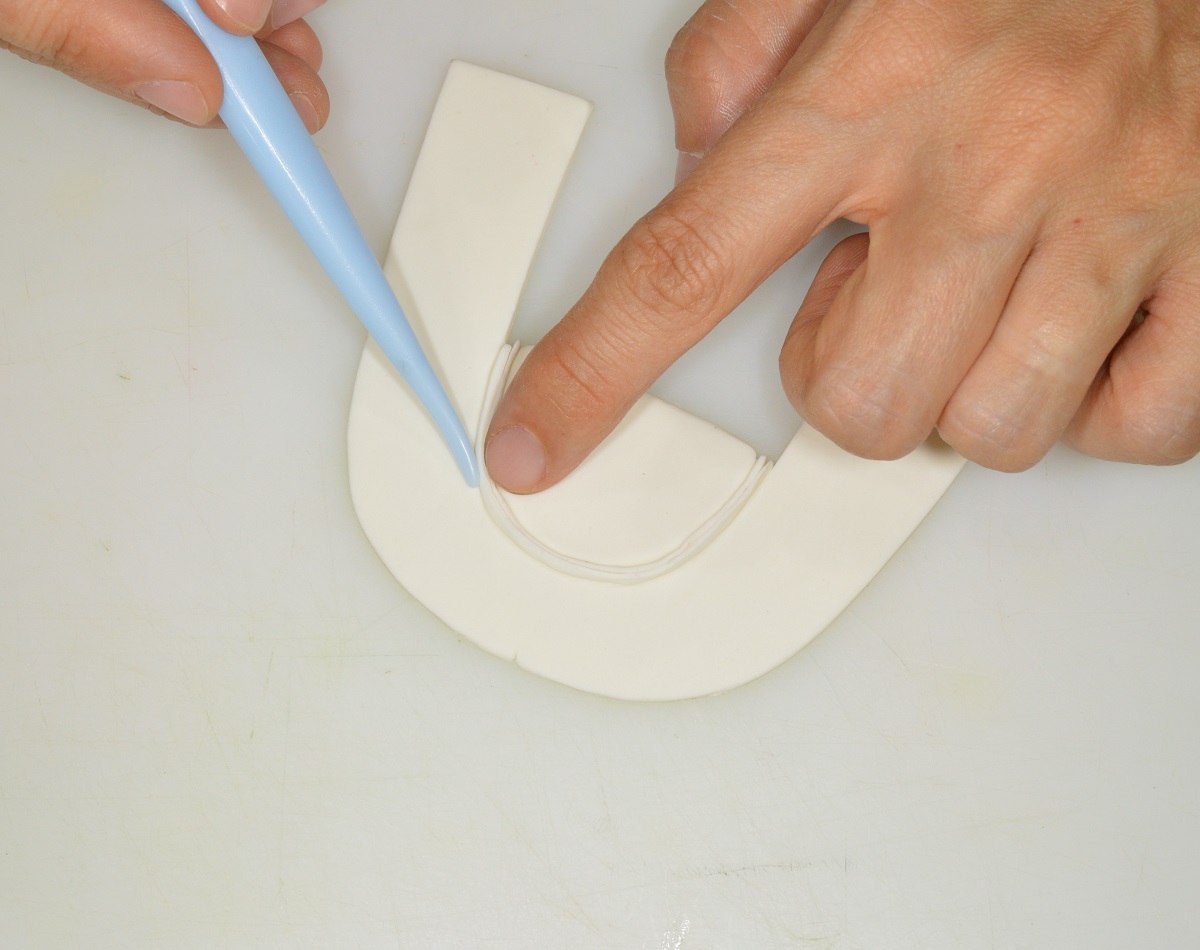
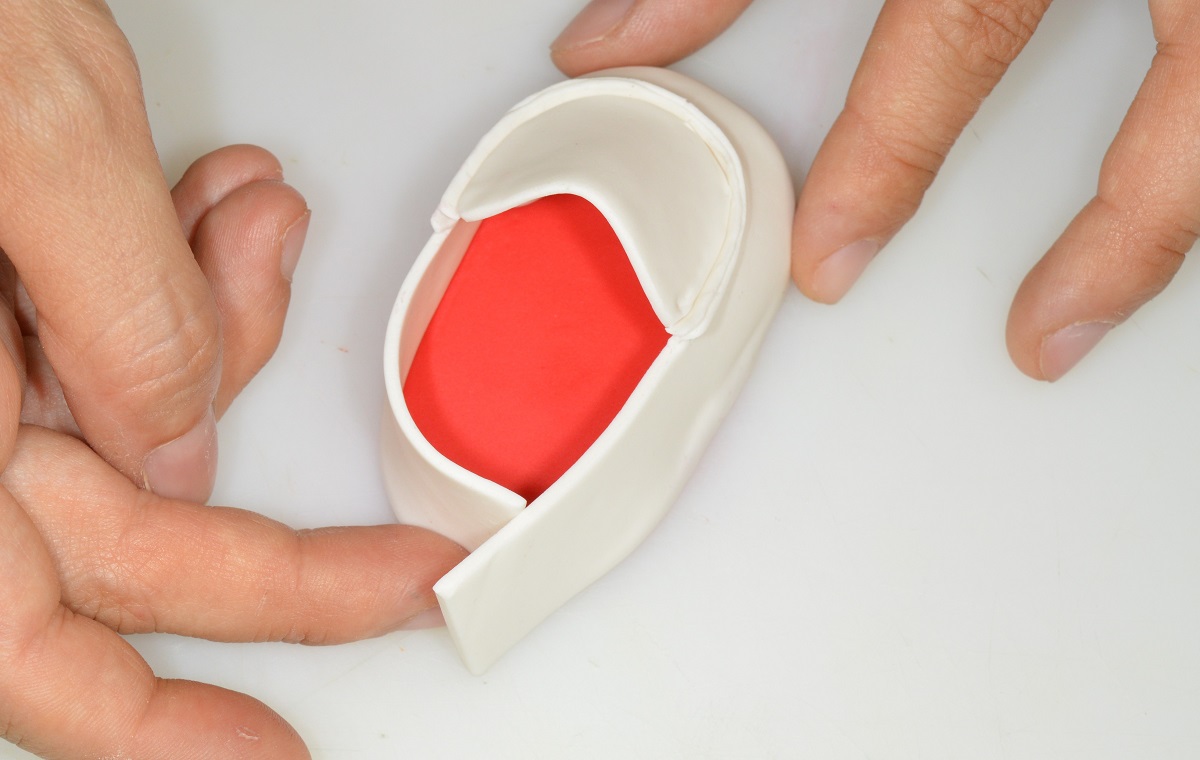
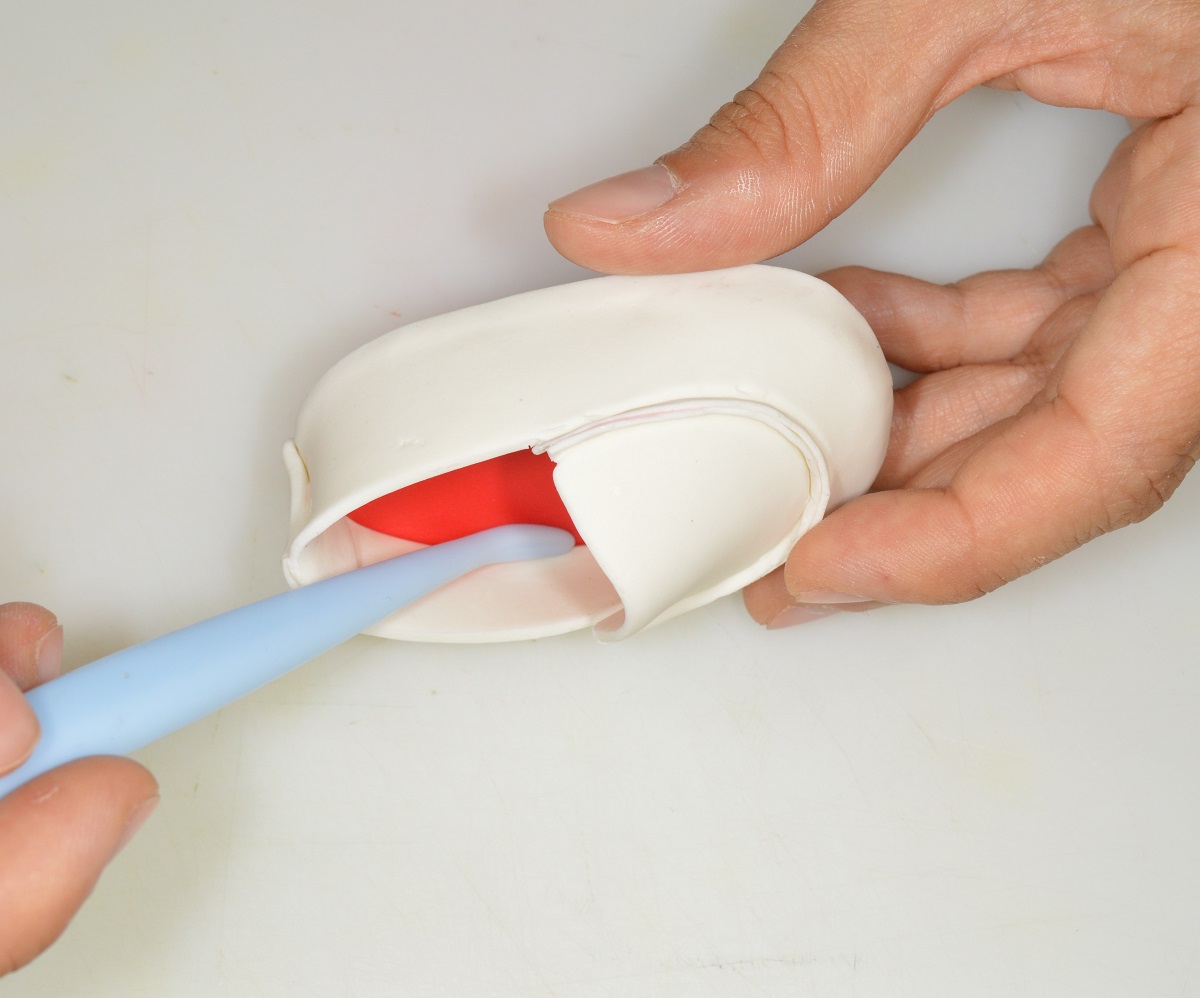
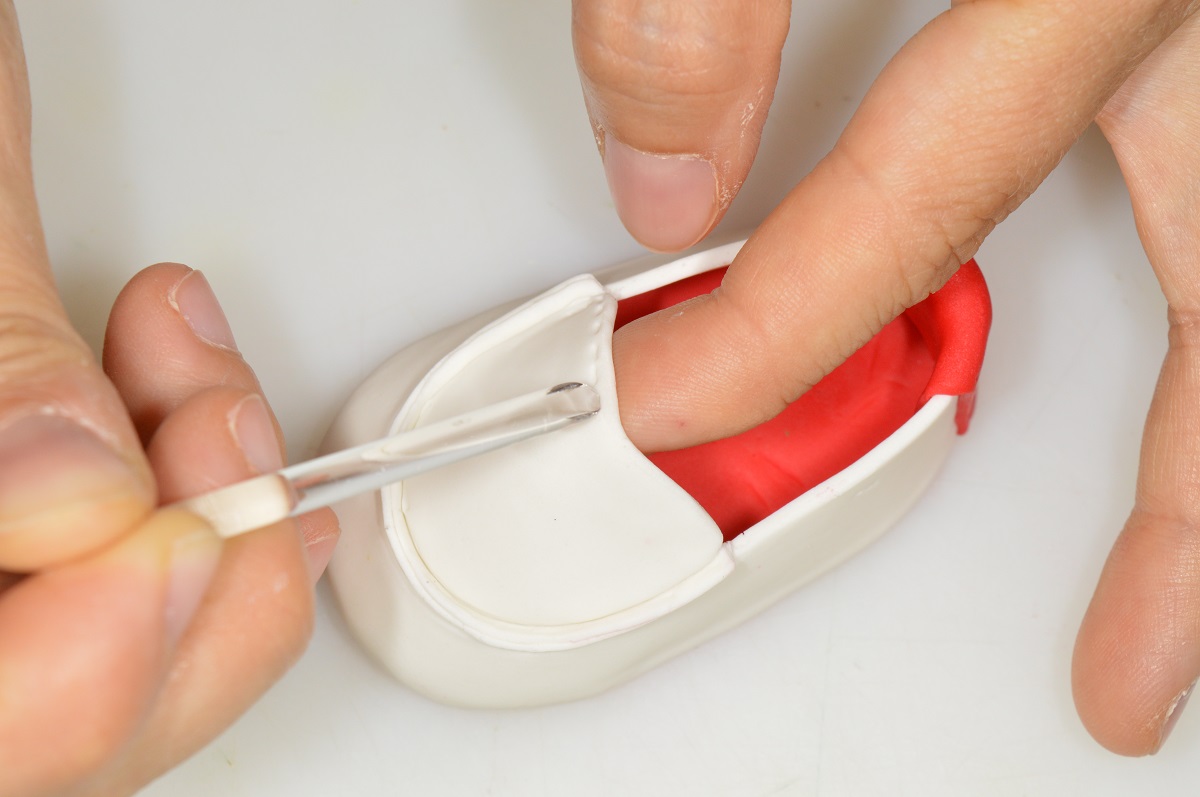
Usate il dresden per schiacciare il bordo sporgente della parte interna della tomaia
Flatten the protruding border of the internal side of the upper
![](https://www.silviamancinicakeart.it/wp-content/uploads/2016/09/4.jpg)
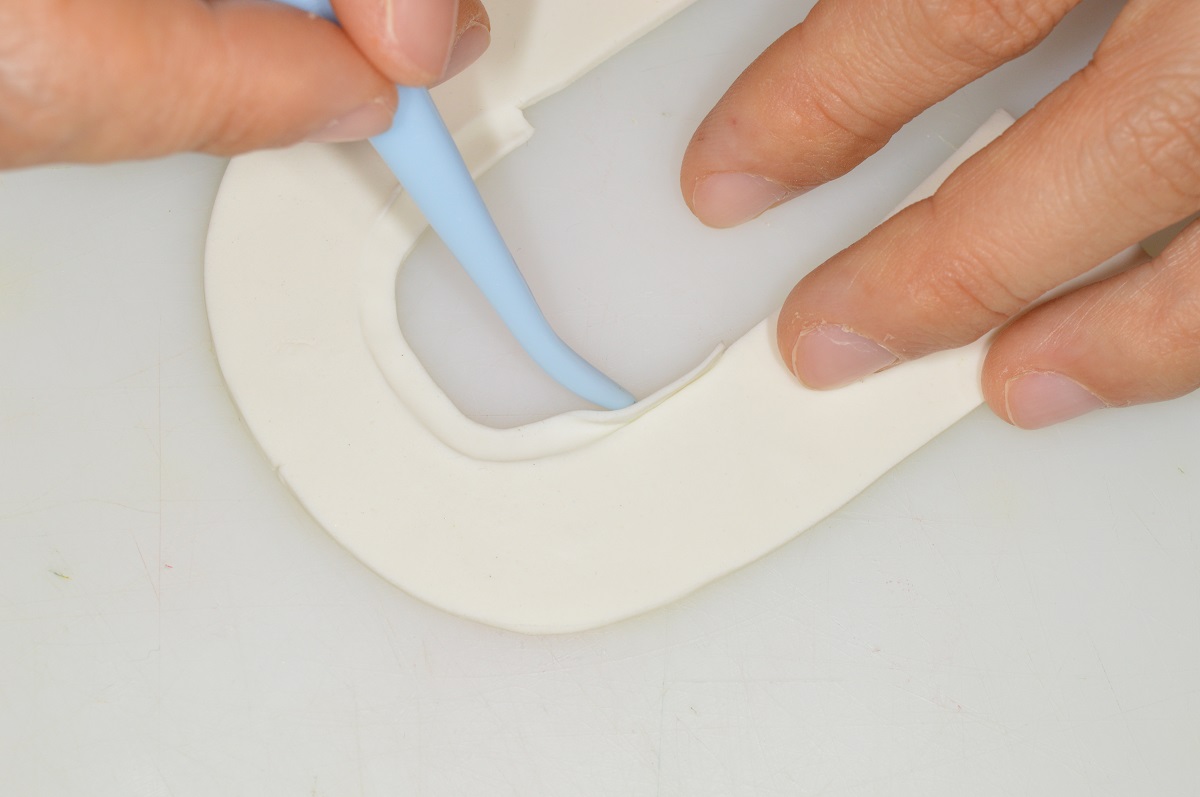
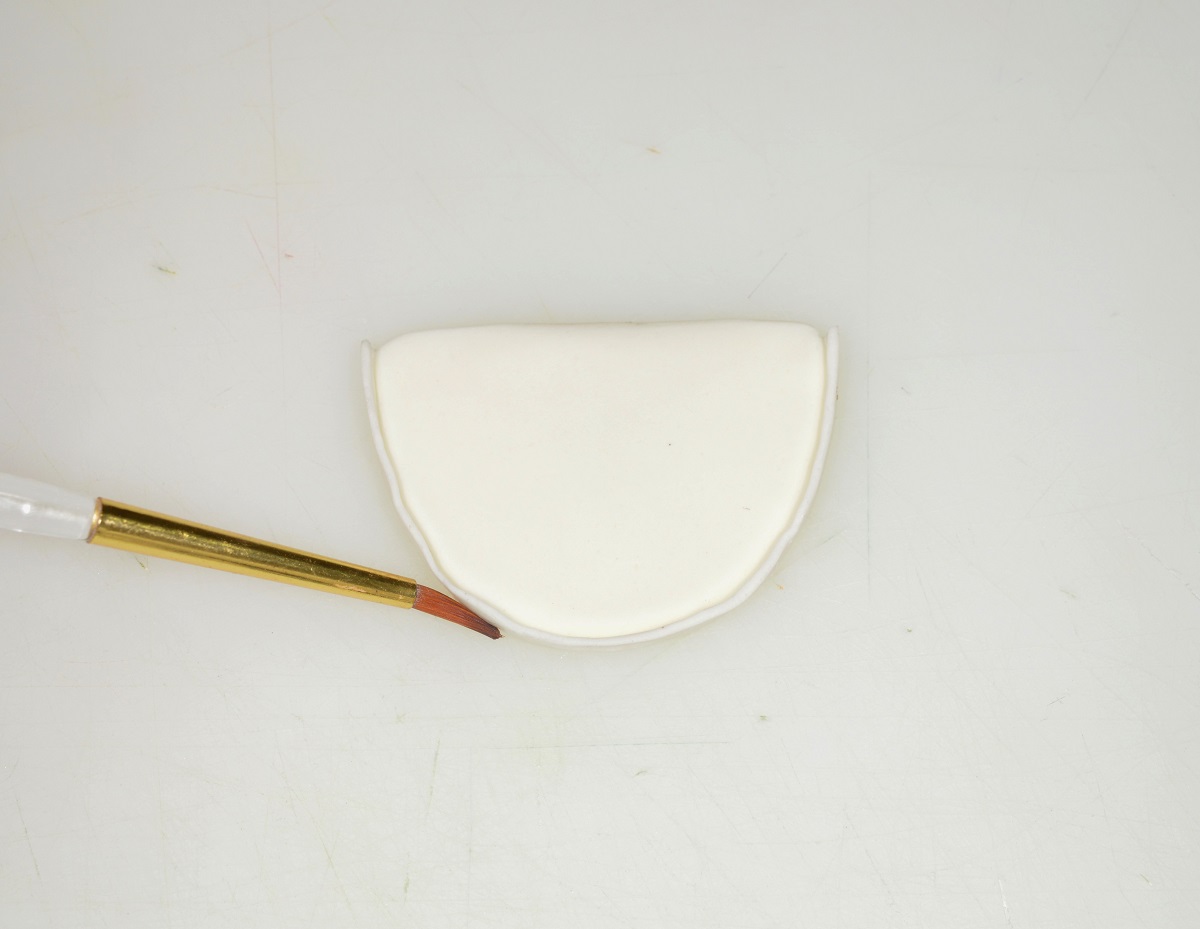
Tirate sul il bordo schiacciato delicatamente , cercando di non deformare la tomaia
Lift the border up very gently
![](https://www.silviamancinicakeart.it/wp-content/uploads/2016/09/5.jpg)
![](https://www.silviamancinicakeart.it/wp-content/uploads/2016/09/6.jpg)
![](https://www.silviamancinicakeart.it/wp-content/uploads/2016/09/7.jpg)
![](https://www.silviamancinicakeart.it/wp-content/uploads/2016/09/8.jpg)
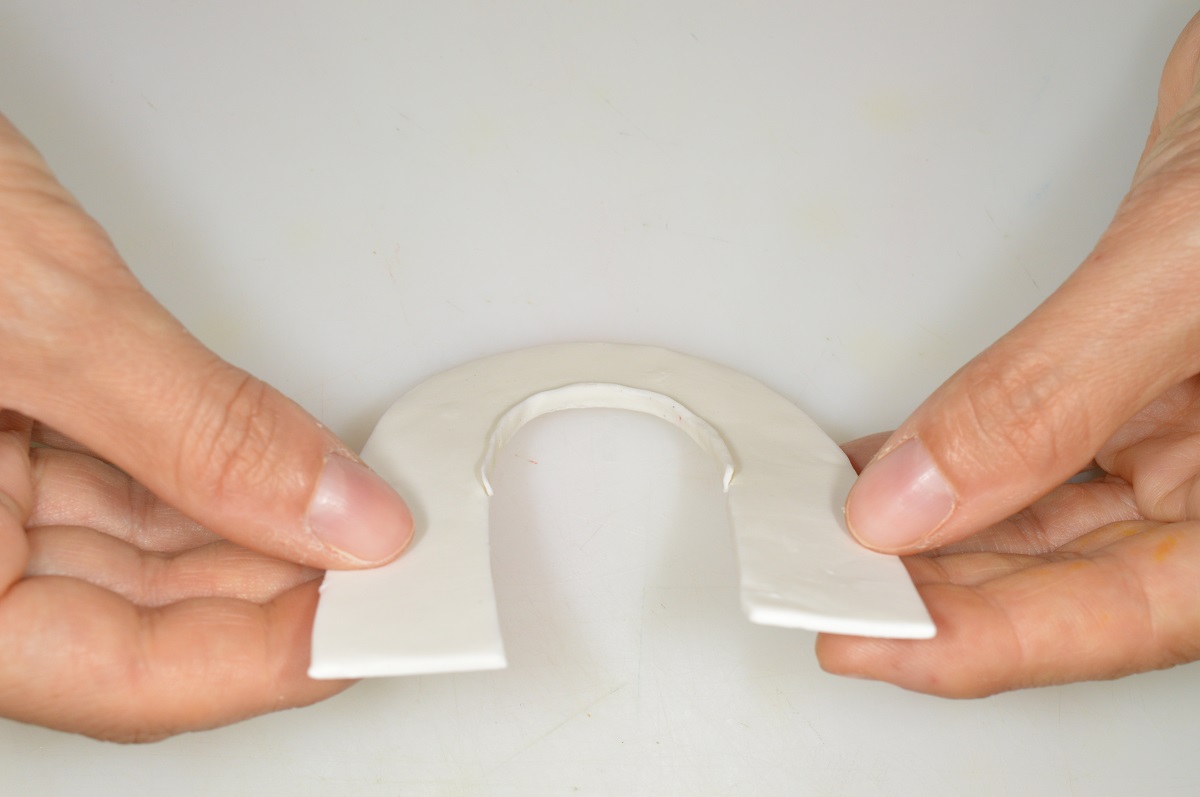
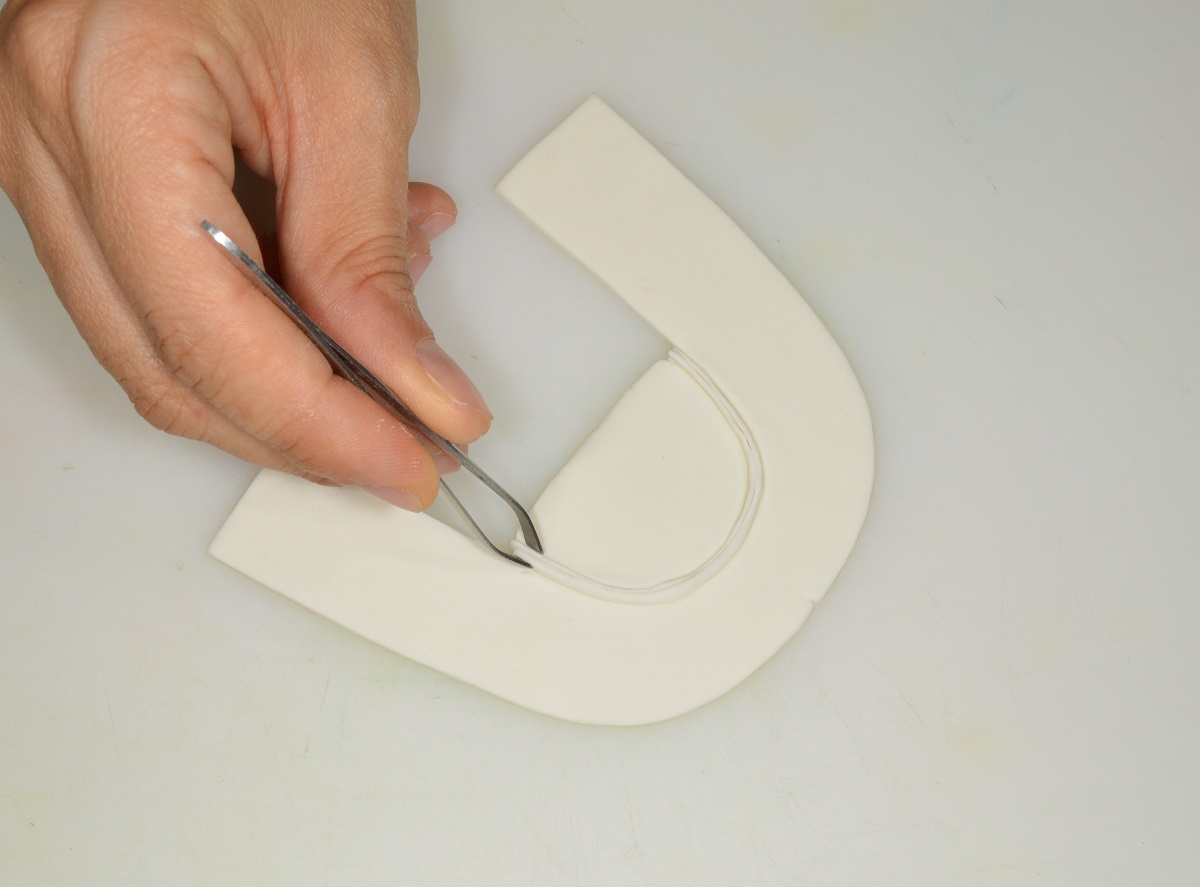
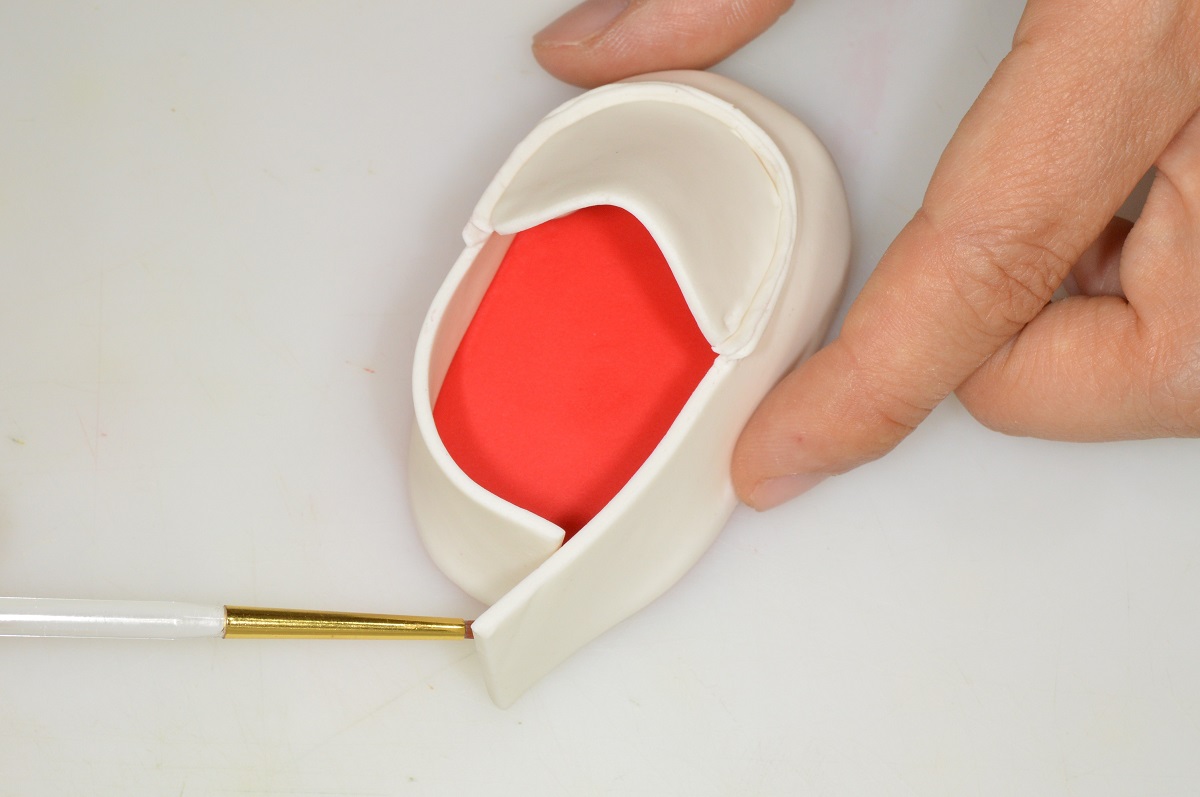
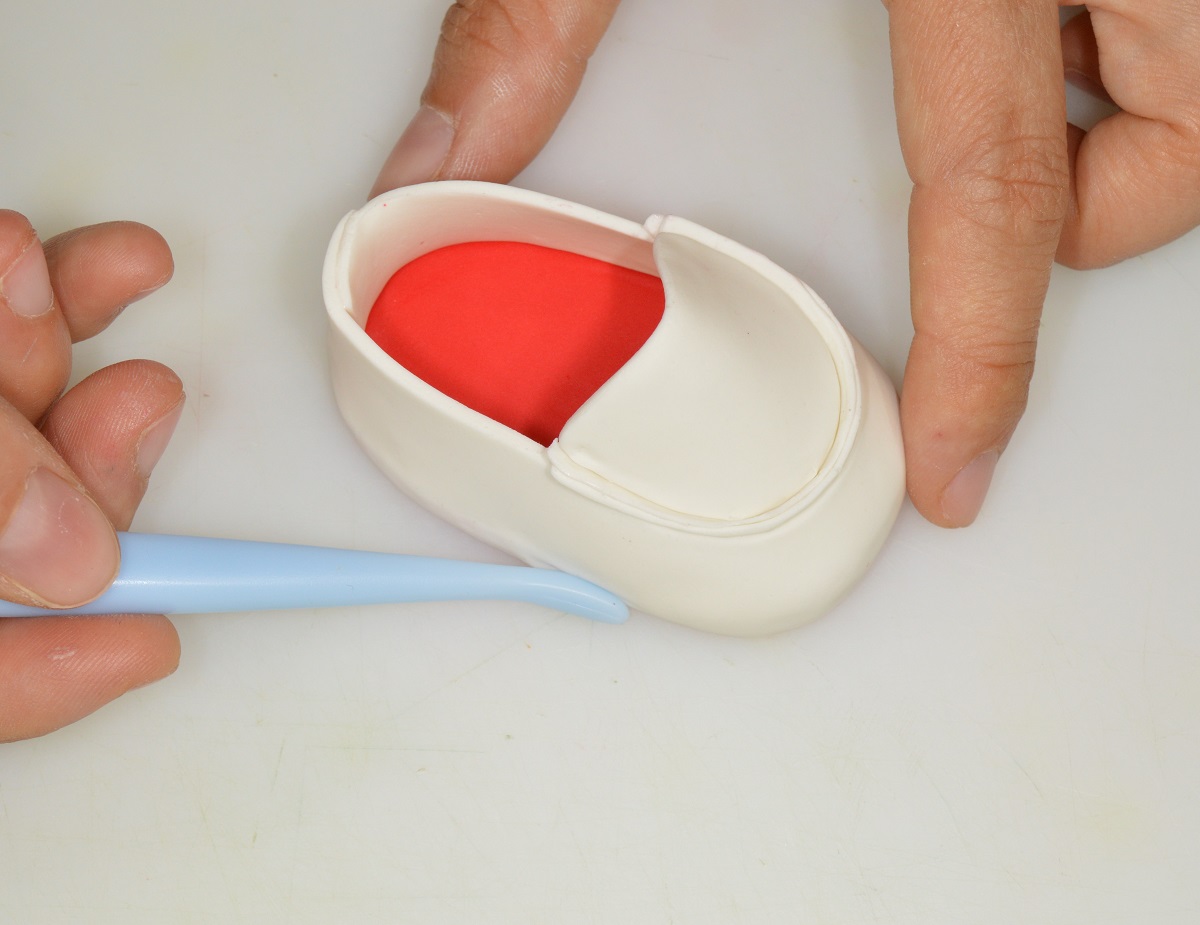
Ripetete l’azione sulla pattina
Repeat the action on the other piece of the upper
![](https://www.silviamancinicakeart.it/wp-content/uploads/2016/09/9.jpg)
![](https://www.silviamancinicakeart.it/wp-content/uploads/2016/09/111.jpg)
![](https://www.silviamancinicakeart.it/wp-content/uploads/2016/09/10.jpg)
![](https://www.silviamancinicakeart.it/wp-content/uploads/2016/09/12.jpg)
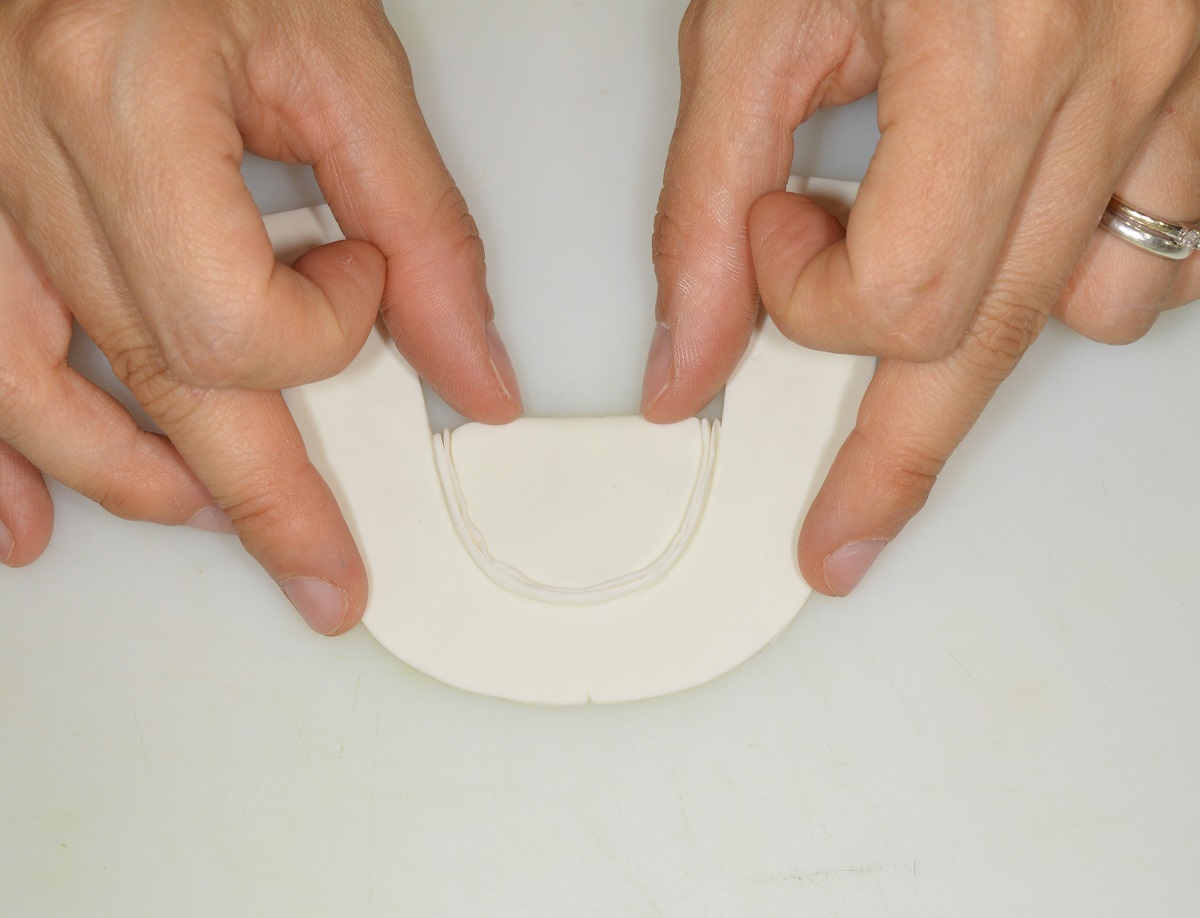
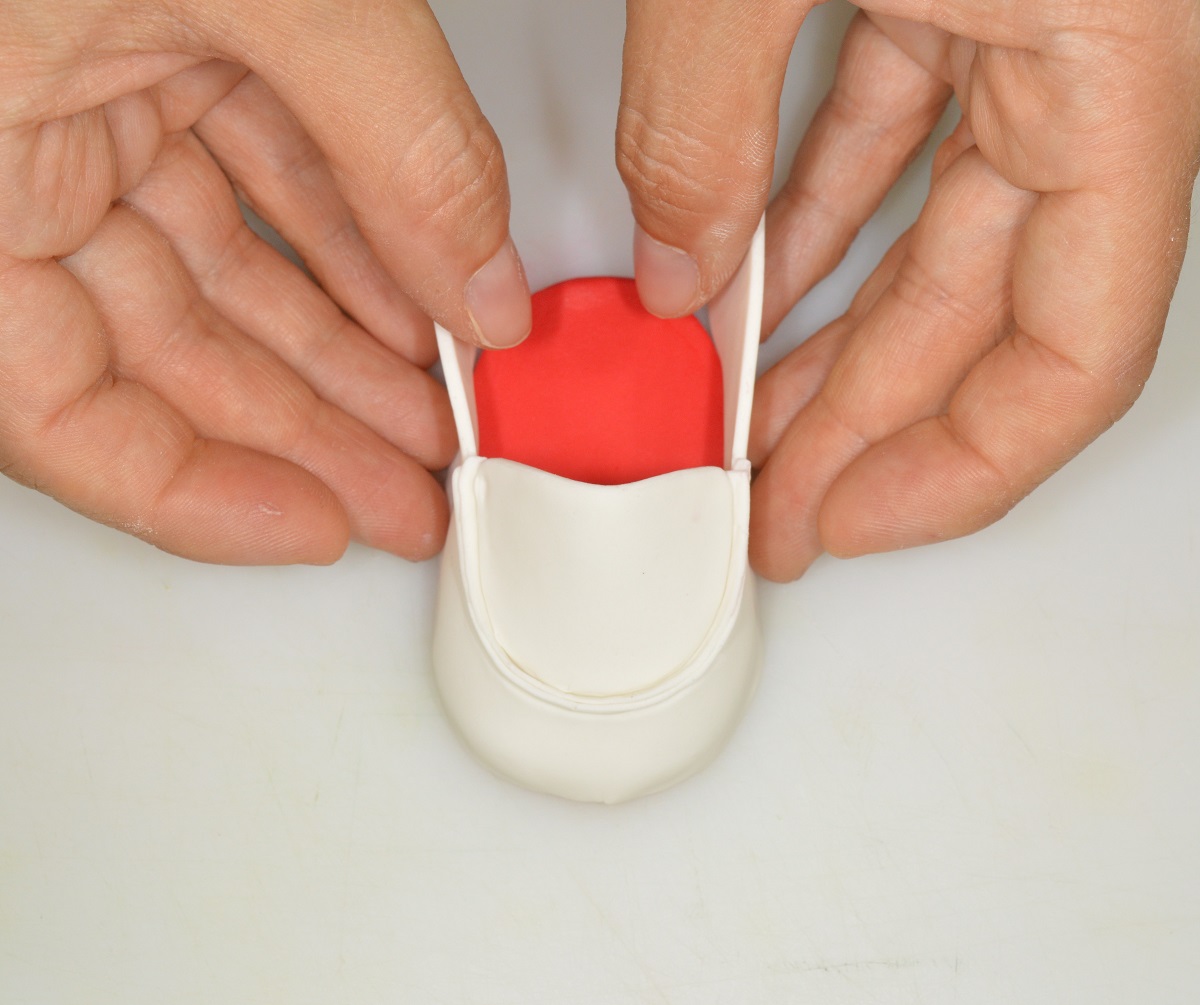
Mettete l’acqua sui bordi realizzati e unite le due parti facendole aderire molto bene
Put a drop of water on the borders and join both the parts together, sticking them very well
![](https://www.silviamancinicakeart.it/wp-content/uploads/2016/09/13.jpg)
Usate delle pinze da estetista per creare la cucitura e aiutare l’aderenza delle parti
Use beautician pincers to create the seams and make more adherence
![](https://www.silviamancinicakeart.it/wp-content/uploads/2016/09/14.jpg)
![](https://www.silviamancinicakeart.it/wp-content/uploads/2016/09/17.jpg)
![](https://www.silviamancinicakeart.it/wp-content/uploads/2016/09/15.jpg)
![](https://www.silviamancinicakeart.it/wp-content/uploads/2016/09/18.jpg)
![](https://www.silviamancinicakeart.it/wp-content/uploads/2016/09/16.jpg)
![](https://www.silviamancinicakeart.it/wp-content/uploads/2016/09/19.jpg)
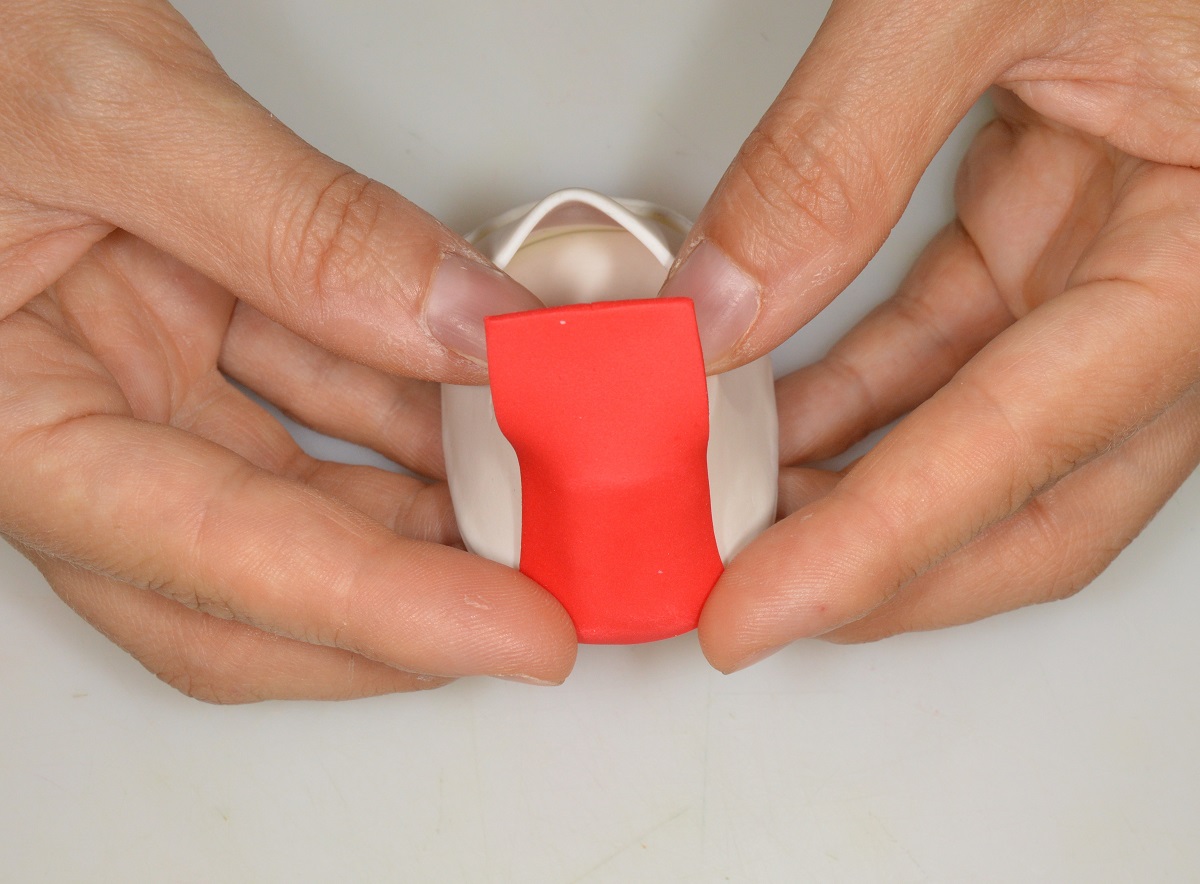
Mettete l’acqua intorno la suola e, partendo dalla punta, attaccate la tomaia
Put some water around the sole and join the upper starting from the front side to the back
![](https://www.silviamancinicakeart.it/wp-content/uploads/2016/09/20.jpg)
![](https://www.silviamancinicakeart.it/wp-content/uploads/2016/09/211.jpg)
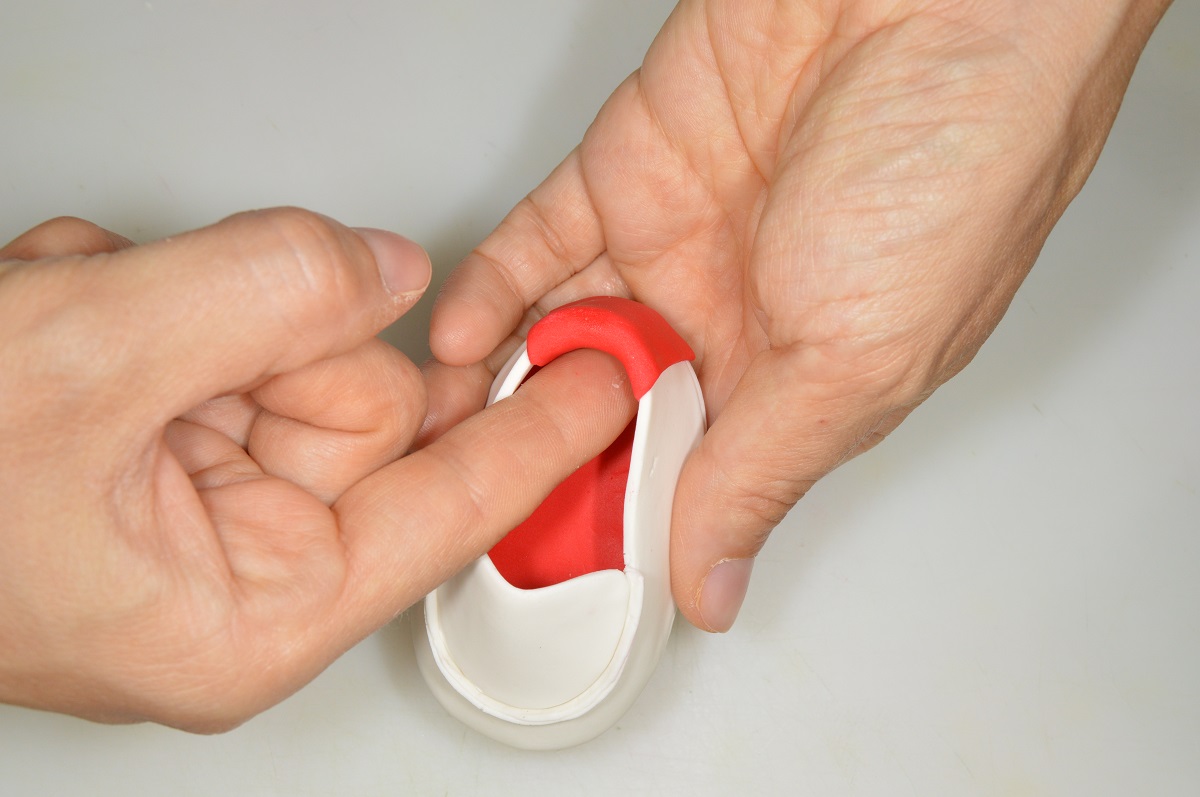
Aggiustate internamente ed esternamente
Adjust within and externally
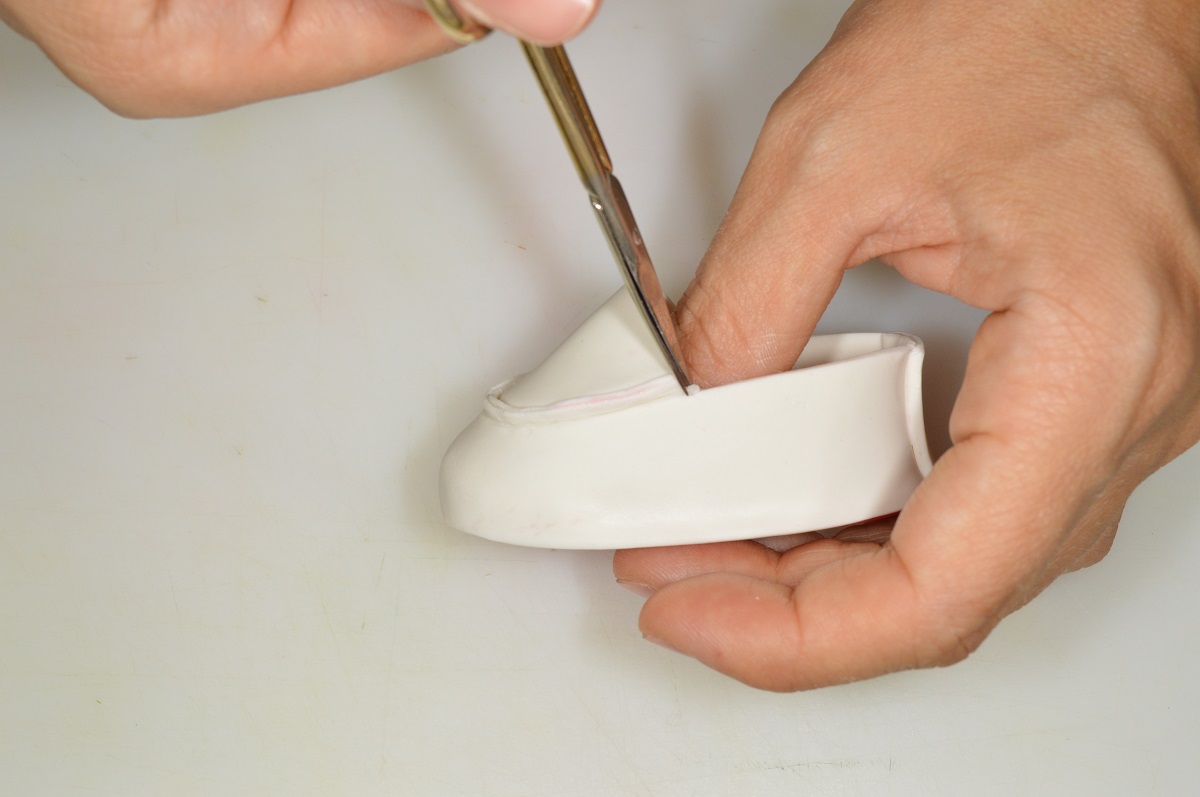
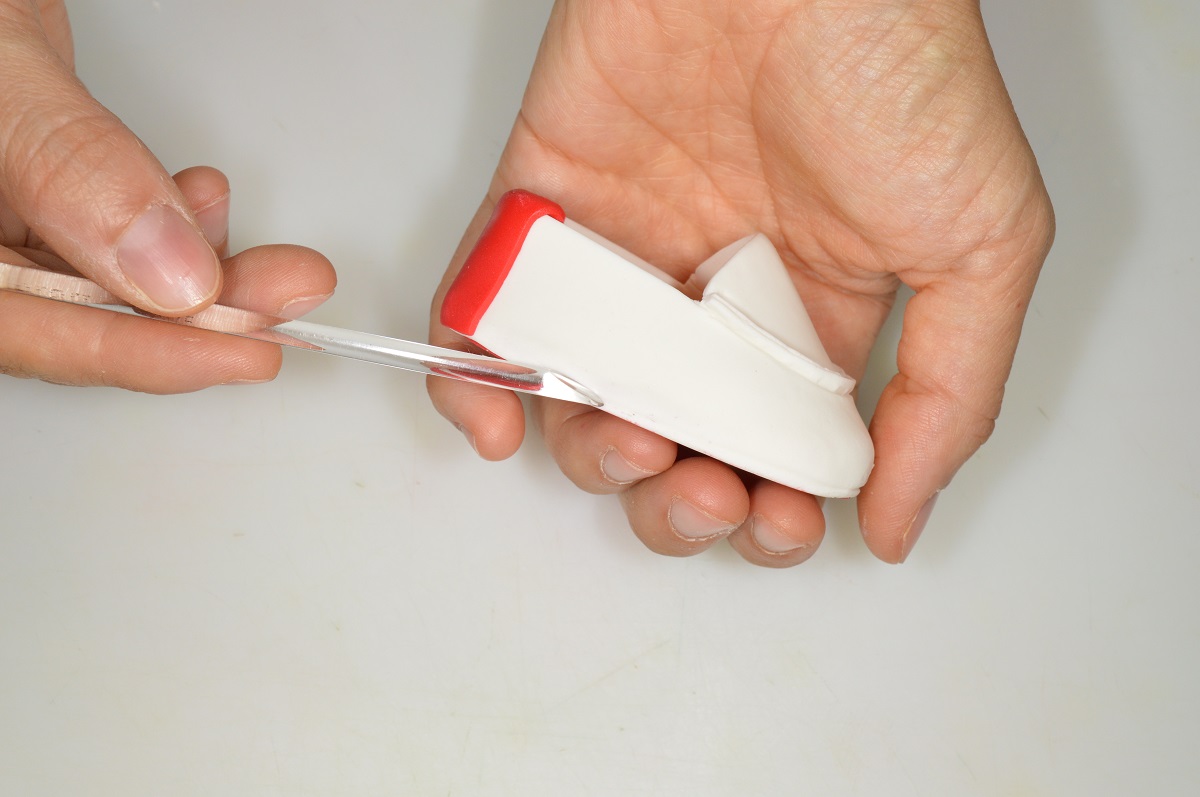
Rifinite le estremità
Cut the excess away
![](https://www.silviamancinicakeart.it/wp-content/uploads/2016/09/22.jpg)
![](https://www.silviamancinicakeart.it/wp-content/uploads/2016/09/23-2.jpg)
![](https://www.silviamancinicakeart.it/wp-content/uploads/2016/09/24-2.jpg)
![](https://www.silviamancinicakeart.it/wp-content/uploads/2016/09/25-2.jpg)
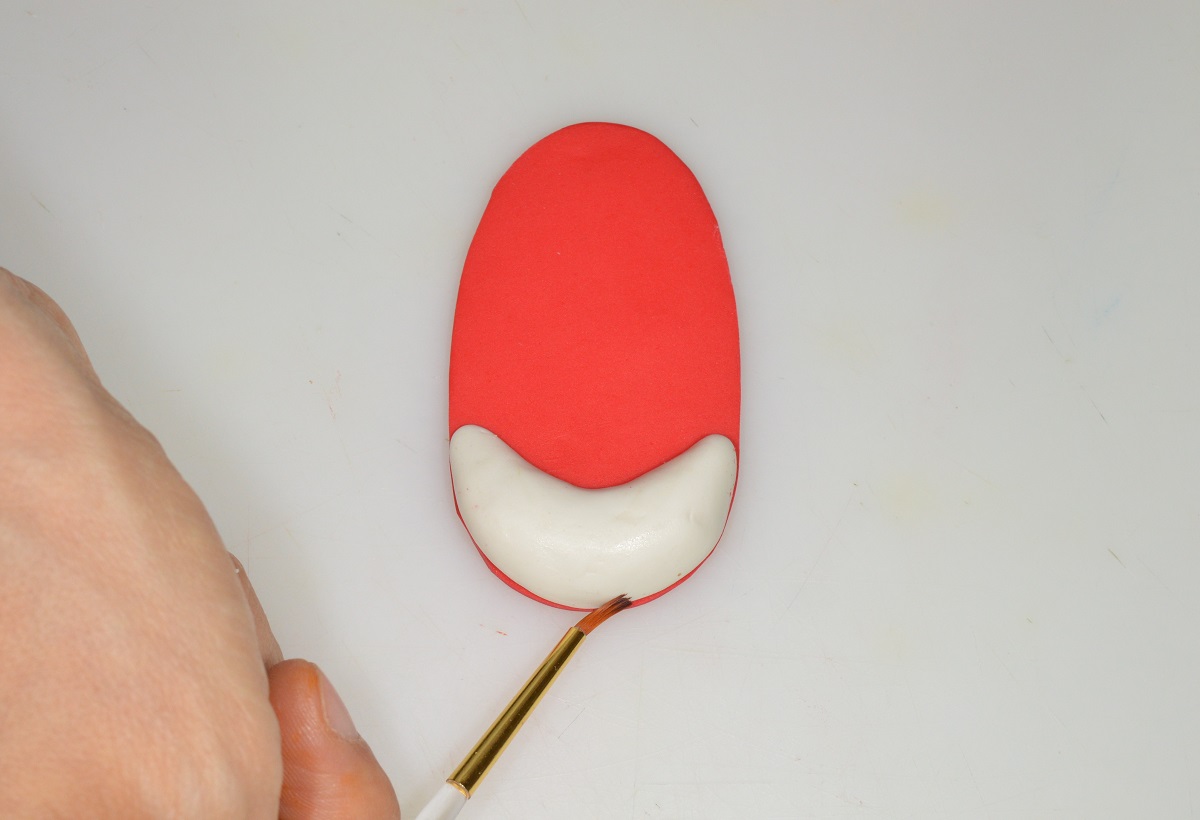
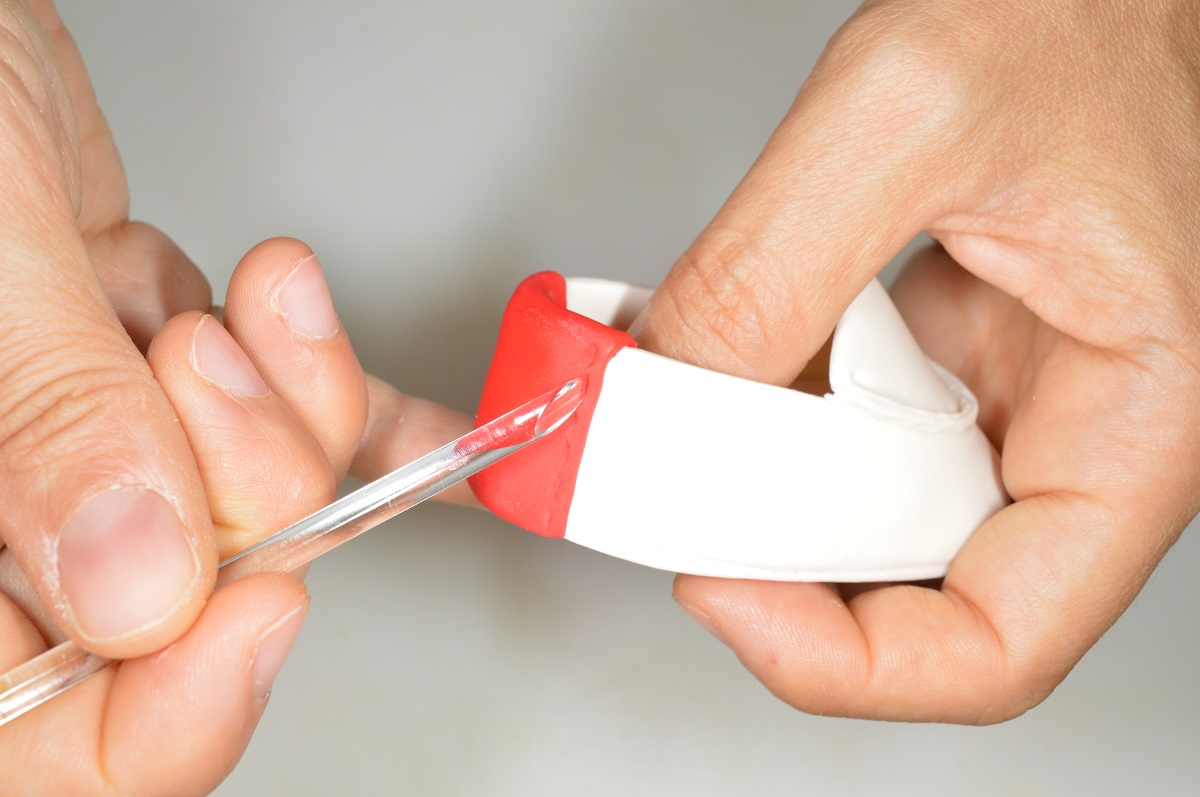
Attaccate il tallone rosso nel retro della scarpa
Join the red piece on the back of the shoe
![](https://www.silviamancinicakeart.it/wp-content/uploads/2016/09/26-2.jpg)
![](https://www.silviamancinicakeart.it/wp-content/uploads/2016/09/28-2.jpg)
![](https://www.silviamancinicakeart.it/wp-content/uploads/2016/09/27-2.jpg)
![](https://www.silviamancinicakeart.it/wp-content/uploads/2016/09/29-2.jpg)
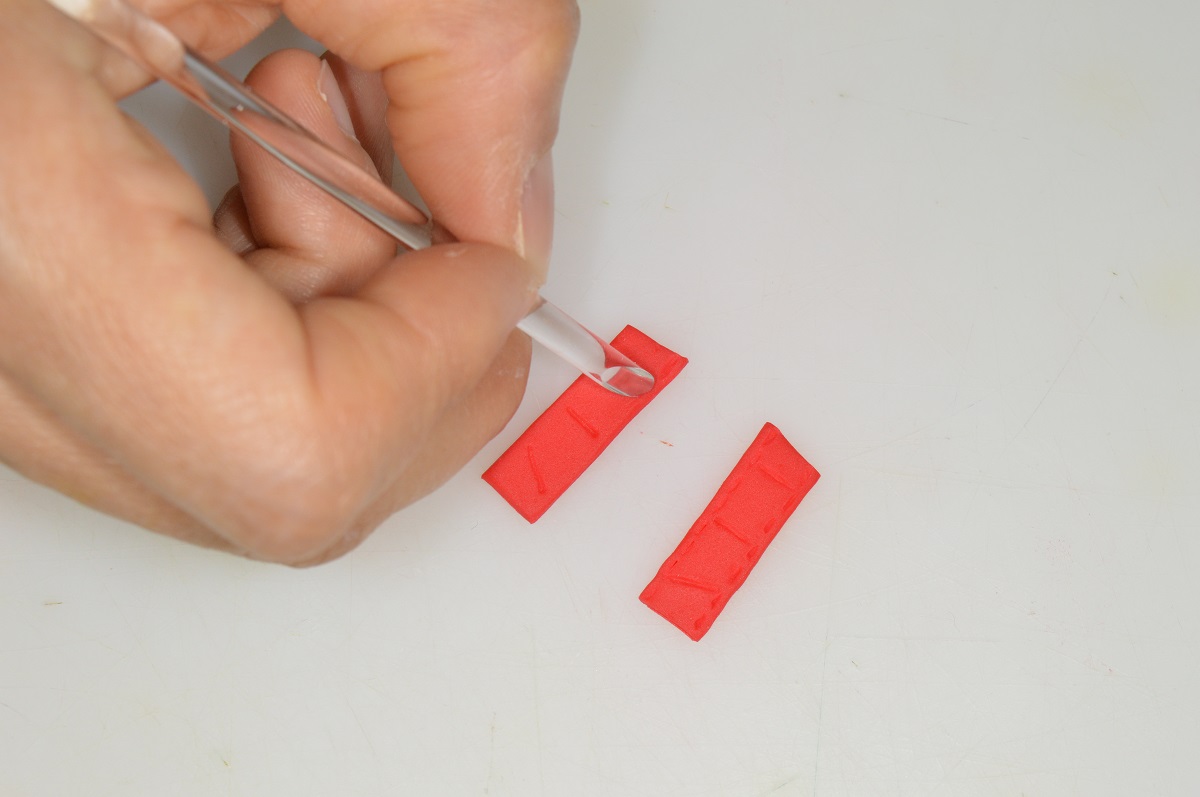
Fate le varie incisioni sulla suola, sulla tomaia e sui riporti rimasti
Make all the marks needed around the sole, on the upper and on the remaining red pieces (seams)
![](https://www.silviamancinicakeart.it/wp-content/uploads/2016/09/30.jpg)
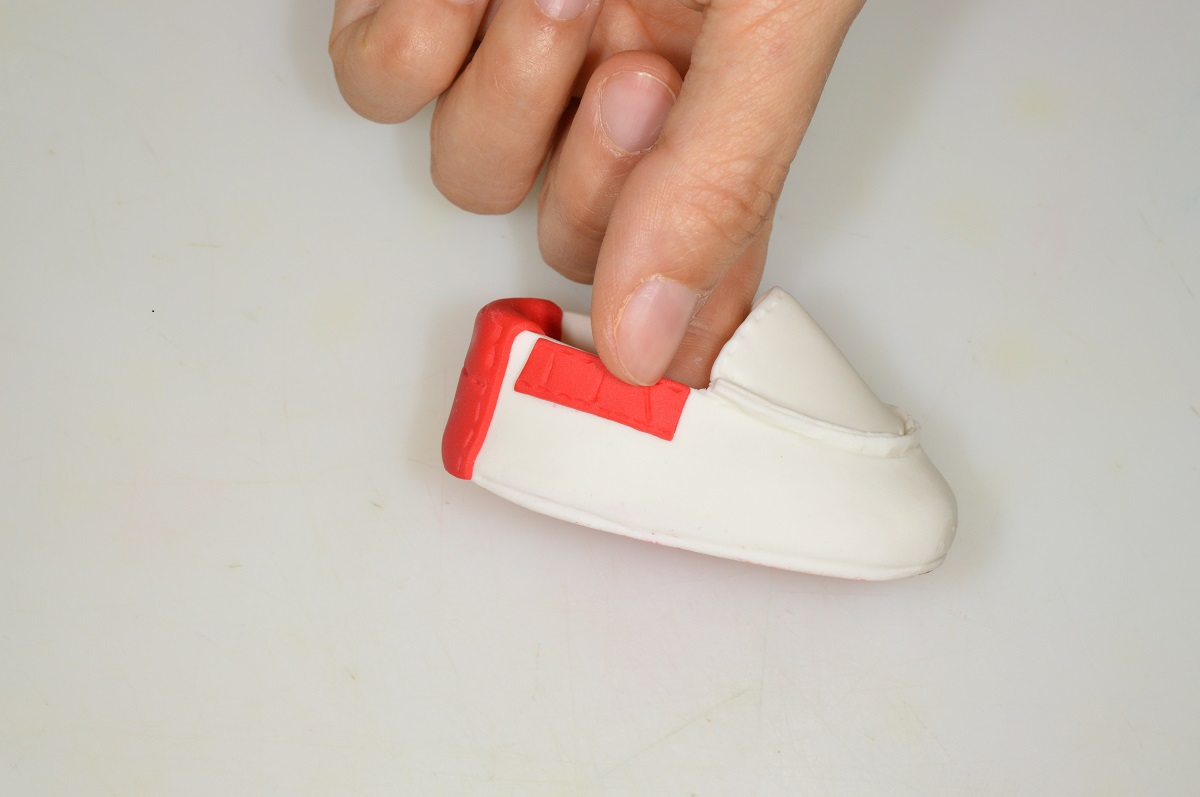
Attaccate i piccoli riporti rossi lateralmente
Attach the small red pieces on the sides
![](https://www.silviamancinicakeart.it/wp-content/uploads/2016/09/31.jpg)
![](https://www.silviamancinicakeart.it/wp-content/uploads/2016/09/32-2.jpg)
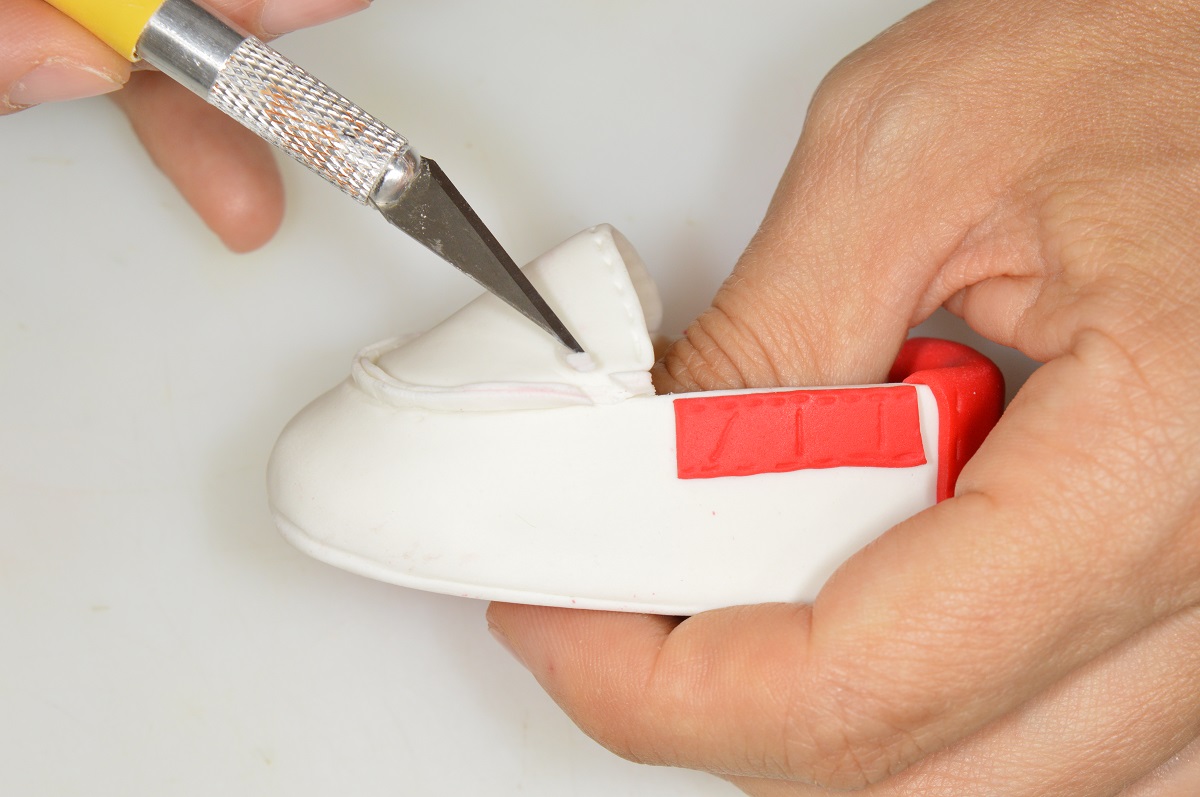
Fate due scassi obliqui in entrambi i lati (interni-esterni) della pattina
Make two oblique scars on the sides of the upper .
![](https://www.silviamancinicakeart.it/wp-content/uploads/2016/09/33.jpg)
![](https://www.silviamancinicakeart.it/wp-content/uploads/2016/09/34.jpg)
![](https://www.silviamancinicakeart.it/wp-content/uploads/2016/09/35.jpg)
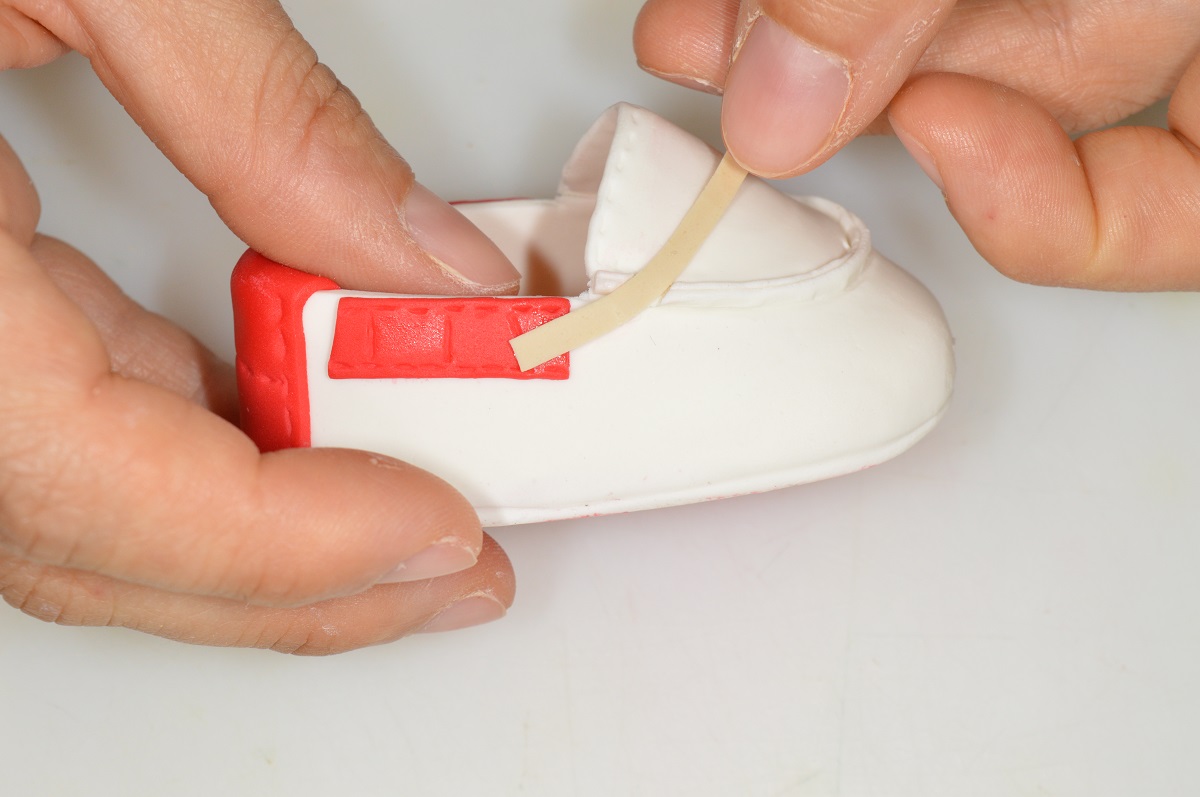
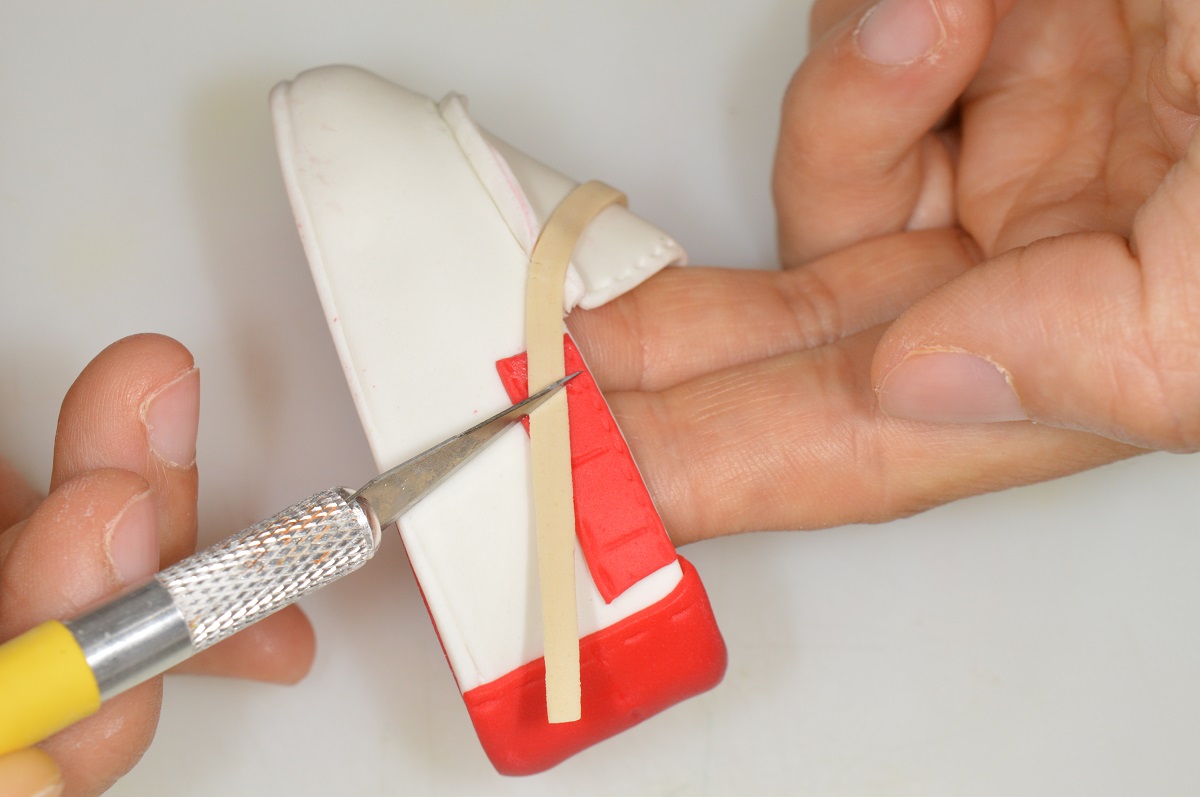
Aggiungere il laccio
Attach the lace alongside the cuts
![](https://www.silviamancinicakeart.it/wp-content/uploads/2016/09/36.jpg)
![](https://www.silviamancinicakeart.it/wp-content/uploads/2016/09/37.jpg)
![](https://www.silviamancinicakeart.it/wp-content/uploads/2016/09/381.jpg)
![](https://www.silviamancinicakeart.it/wp-content/uploads/2016/09/39.jpg)
![](https://www.silviamancinicakeart.it/wp-content/uploads/2016/09/40.jpg)
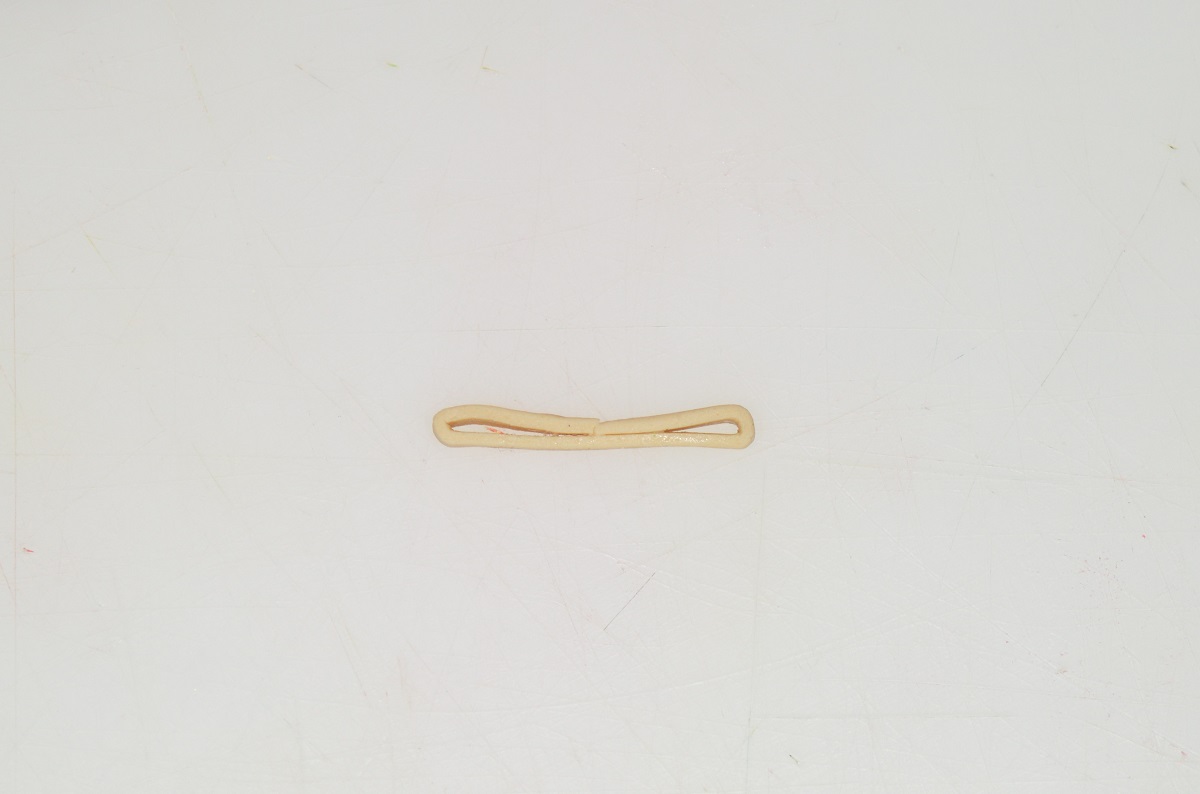
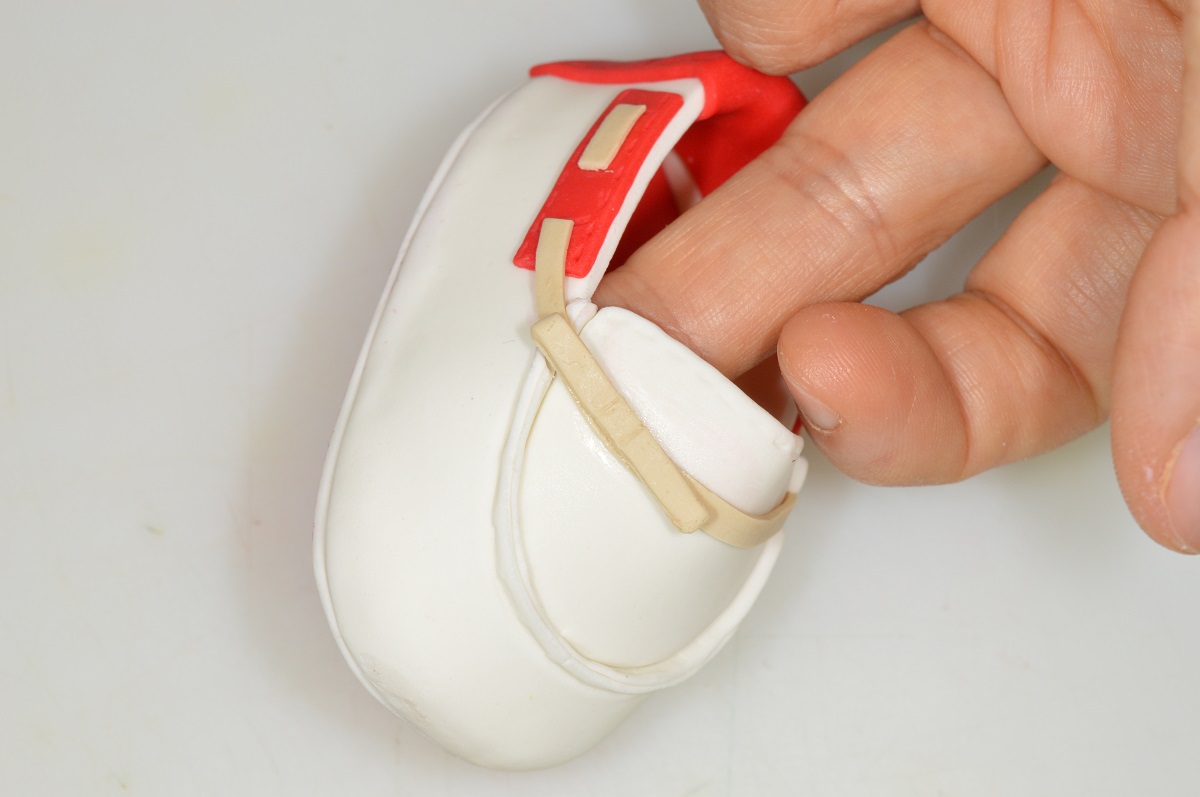
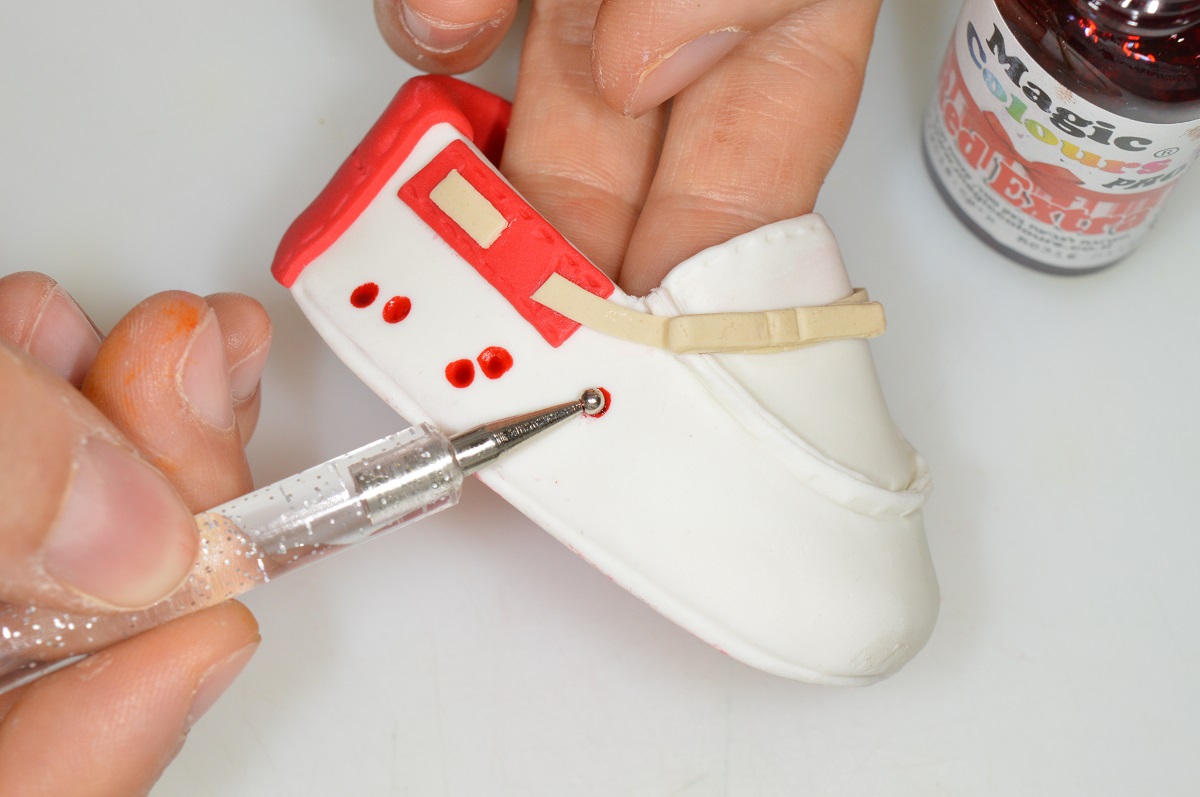
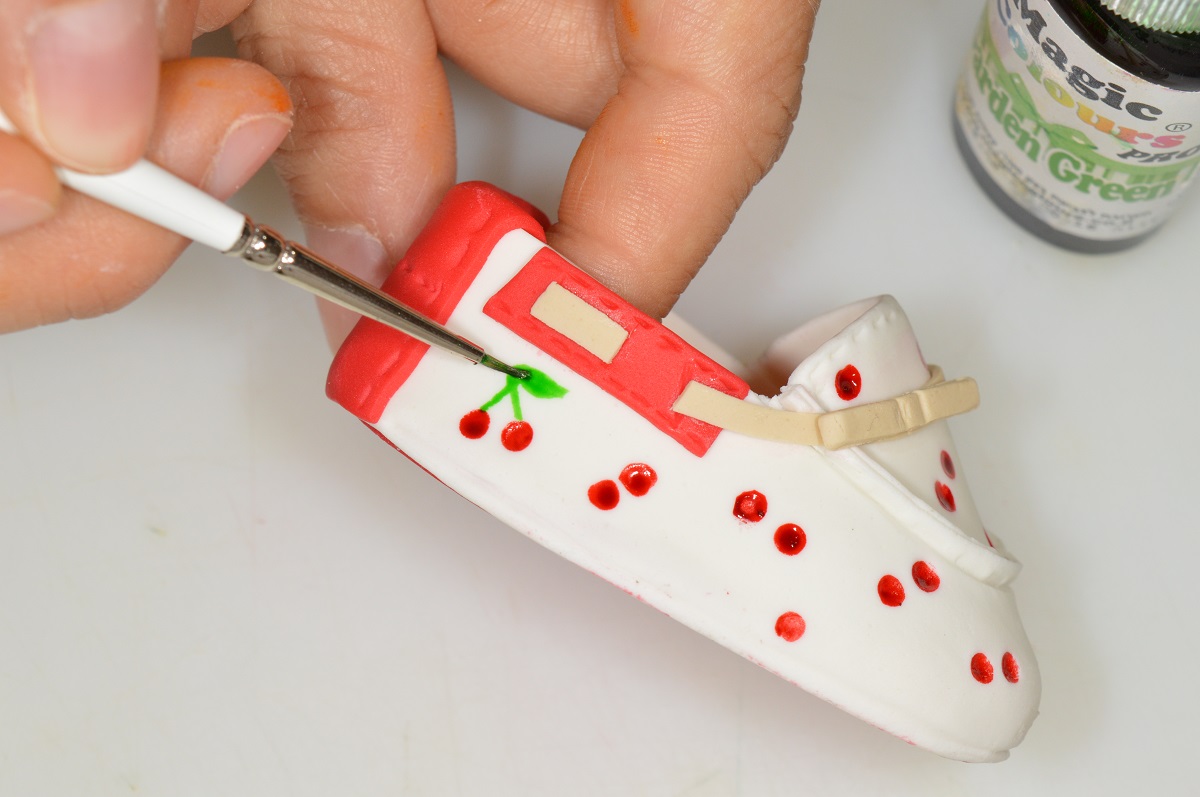
Termina la scarpina con tutte le decorazioni
![](https://www.silviamancinicakeart.it/wp-content/uploads/2016/09/zero.jpg)
![](https://www.silviamancinicakeart.it/wp-content/uploads/2016/09/templatejpeg.jpg)